10.2 Working with the toolbar
Change view
 After selecting one of the six available views, the measurement is displayed in this view.
Bunion line and foot axis
After activating the view of below you can move the displayed bale line with the left mouse button. To adjust the foot axis, you can rotate the foot in the front or rear foot area by holding down the left mouse button.
Start measurements
![]()
Left-click on the [Start measurement] button to activate the scanner and start a new measurement.
Next, the separately installed driver for the scanner is started and automatically carries out the initialisation process.

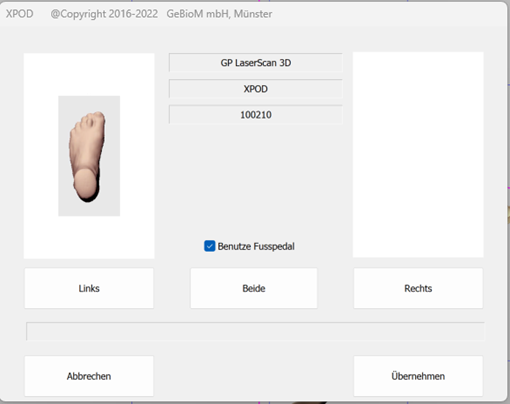
As soon as the scanner is initialised, all buttons are active. If you want to work with the foot switch, the "Use foot pedal" checkbox should be ticked. Then select the side you want to start with (left/right or both) and start the scanning process by pressing the foot switch or CTRL. If you have selected "Both", always start the scanning process with the left foot.
If you are not using a foot control, activate the scanning process by clicking on "Left" or "Right".
After scanning, a preview image is displayed. If both feet or just one foot have been scanned, the measurements are saved by clicking Apply. If a measurement is already open, you will be notified and you can decide whether to create a new file or overwrite the old measurement. The measurement is then displayed in the workspace.
Insert notes
![]()
You can create your notes by left-clicking in the free text field. These are saved with the customer under the measurement.