2. installation of the app and the camera
| 1 | Download the TP-Link of the Tapo app from the App Store or Google Play down. |  | ||
| 2 | Install the camera in your WIFI network To do this, you need a smartphone that is already connected to the WIFI network in which you want to add the camera. Follow the instructions in the app to connect. | |||
| 3 | Steps in the instructions: Press the dot: Add device. | 2. select the option Indoor cameras 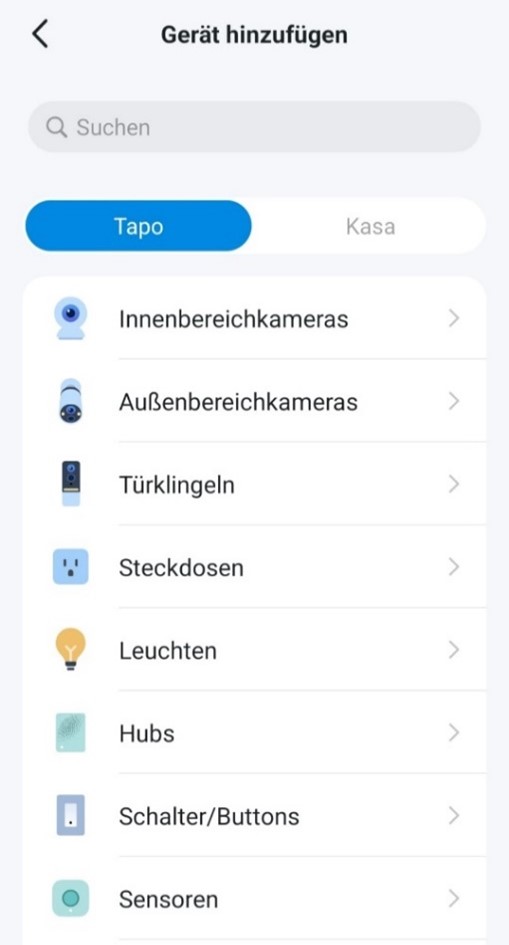 | ||
3. select the Tapo C100 device from the list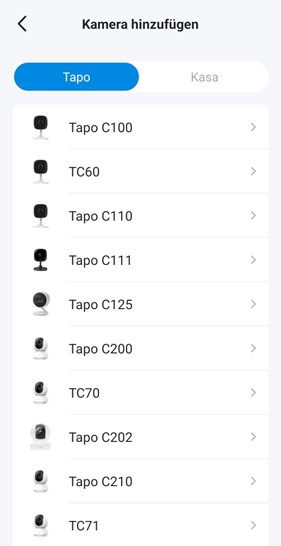 | Make sure that the camera flashes as shown in the instructions.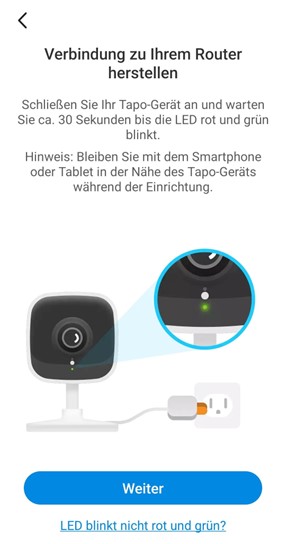 Make sure that the camera flashes as shown in the instructions. Make sure that the camera flashes as shown in the instructions. | |||
5. connect the mobile phone to the direct WIFI of the camera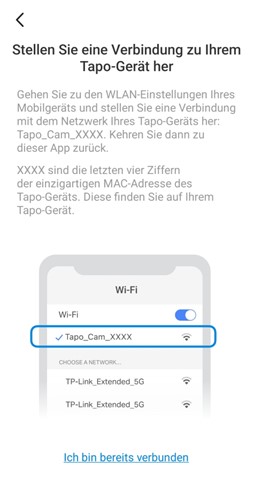 | 6. wait until the camera has been found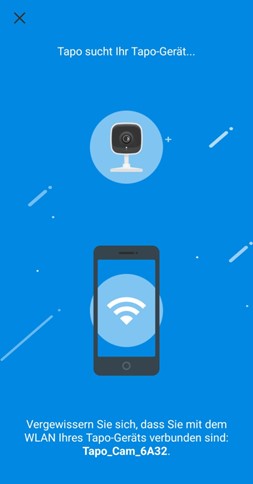 | |||
7. select a WLAN network to which the camera is to be connected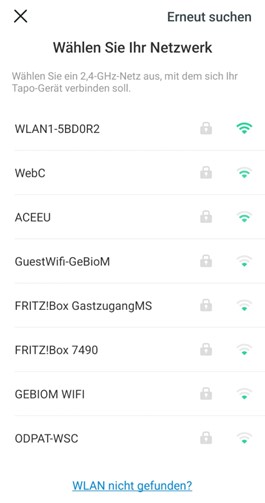 | Enter the password for the WLAN network and press Further 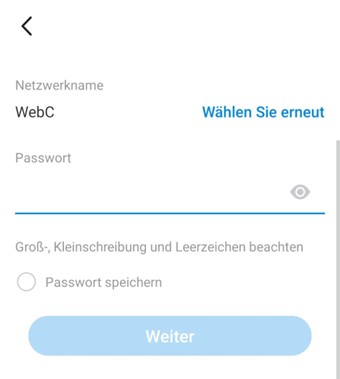 | |||
9. wait until the camera has established a connection with the specified network | 10. wait until the app and the camera are paired  | |||
11 It is recommended that you do not change the name of the camera ID and keep the suggested default name so that you can find the camera more easily later. Press the Further.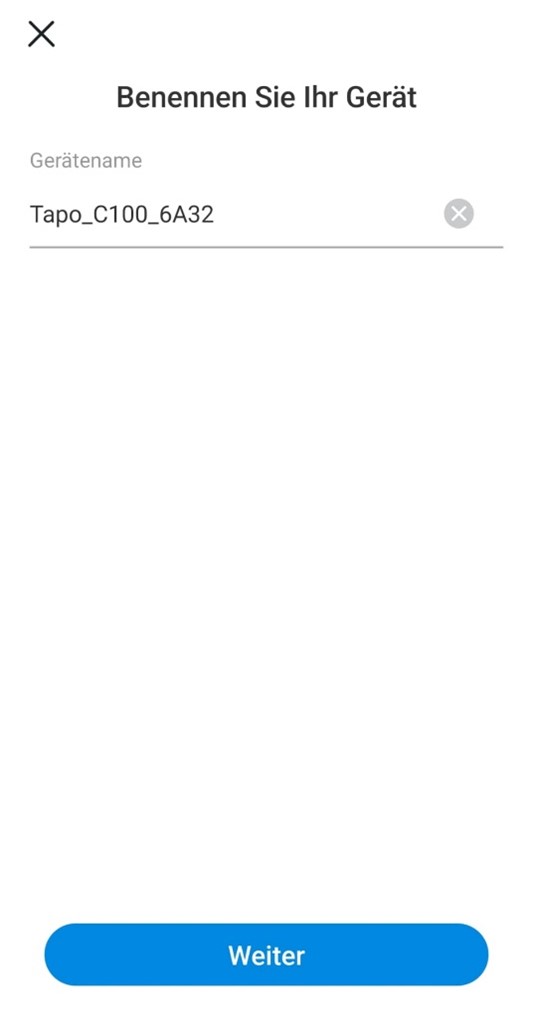 | 12. set the position and press Further This is only used by the Tapo app. 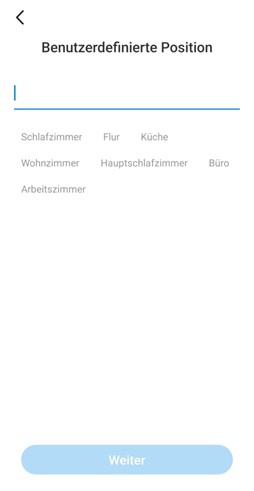 | |||
13. the camera is now paired and connected, press Class | Press Understood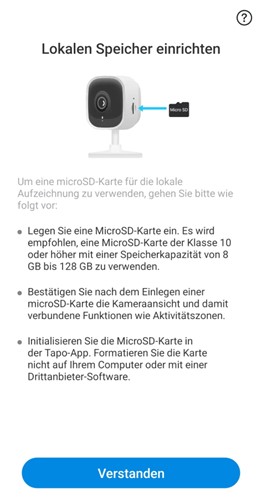 | |||
15. press Understood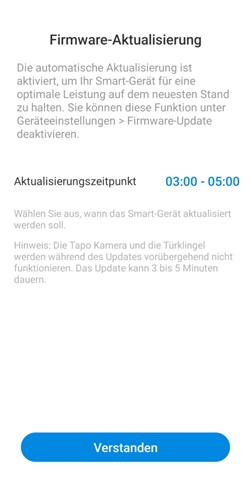 | ||||