4.1.13 Zoning

Zone definition
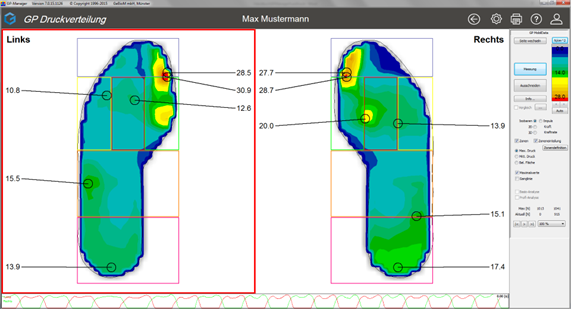
It is now possible to edit the zones manually. This function is only possible if the axis is set, or in other words, if the "Axis" box is not ticked. All changes made on one foot side are automatically transferred to the other foot side. Operation is carried out by holding down the Ctrl key. There are several options:
- Change an existing zone
- click on the zone to be changed while holding down the Ctrl key and change the size of the zone at the corner or side points with the mouse, or change the position of the zone while holding down the mouse button in the zone
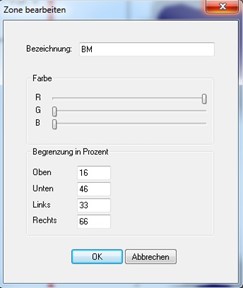
- double-click in the zone while holding down the Ctrl key to open a new window (see Figure 12). Here you can enter the name, move the sliders to change the colour and enter the coordinates to change the size and position of the zone.
- Define a new zone
- A window can be opened by holding down the Ctrl plus Shift key. This is then a new zone and can now be edited in the same way as under 1.) "Change existing zone".
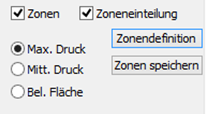
If a change has been made under 1.) or 2.), the option "Save zones" appears (see Figure 13). The changed zone can be overwritten there or a new zone can be created. In the latter case, a new name must be entered for the zone. By clicking on "Zone definition", you can select from the list of already created zones (see Figure 14). The selected zone categorisation is displayed graphically and it is possible to delete a previously defined zone categorisation.


