4.16 Installing the ramp
| 1 | Place the ramp on the prepared fixing holes. | 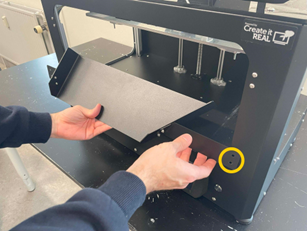 |
| 2 | Tighten the ramp with the four screws provided in the accessory bag. | 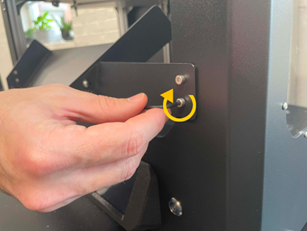 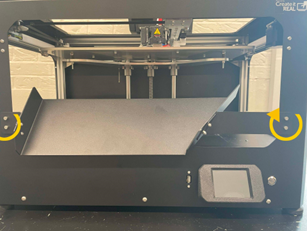 |
| 3 | Check that the ramp does not hinder the free movement of the print bed. To do this, use the button Z below in the option Manual control on the LCD screen. Using the screws that hold the main part of the ramp, you can adjust its position if necessary so that there is a gap of 3-4 mm between the edge of the ramp and the print bed. | 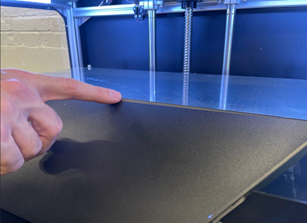 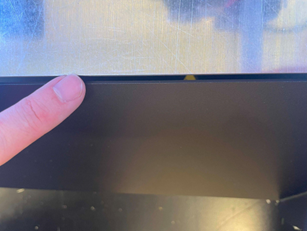 |