Insert the 10 cm hose into the print head inlet.
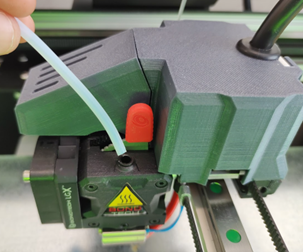
Insert the 10 cm hose into the print head inlet.

To ensure that the extruder is ready for printing, the lever should be in position 3. In this position, 3 notches are visible
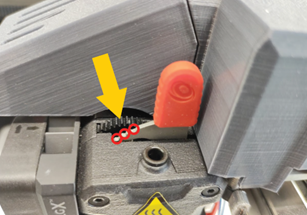
| 1 | Guide the filament forwards through the slot. | 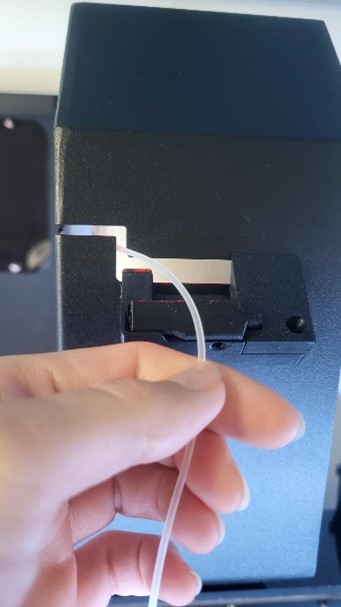 |
| 2 | Press down the clamp on the left-hand side so that the hole for threading the filament through is released. | 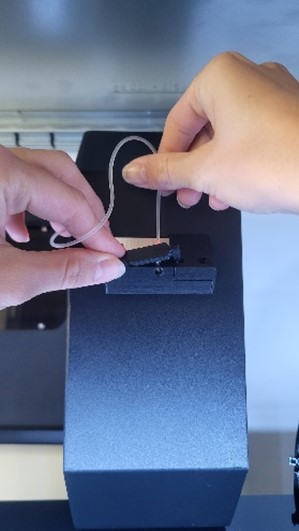 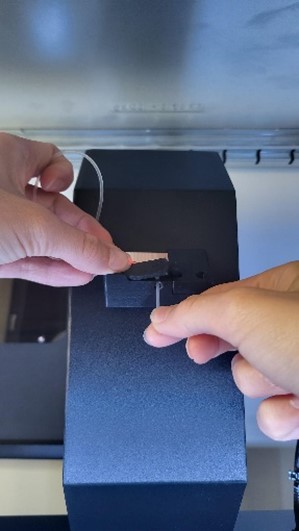 |
| 3 | Now thread the filament through the hole from the back to the front and then release the clamp. | 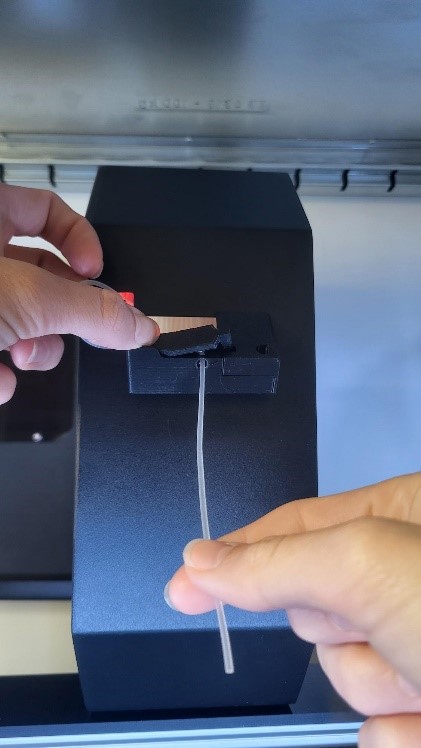 |
| 4 | Pull gently on the filament to check that it is correctly inserted and that the spool unwinds smoothly. Then cut off any excess material and insert the filament into the print head (see chapter 7.3). | 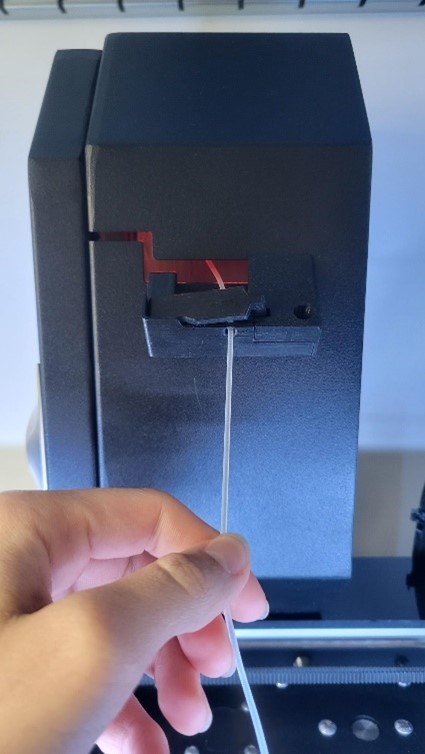 |
| Performance requirements | 230V AC 50 Hz (1.5A); 120V AC 60 Hz (3A) |
| Power consumption | Normal operation: < 100W Idle mode: < 50W Stand-by: < 40W |
| Operating room temperature | 5-35 °C (40-95 °F) |
| Print head temperature | Operation: 240-260 °C (464-500 °F); Maximum: 285 °C (545 °F) |
| Filament chamber temperature | Operation: 35-45 °C (95-113 °F) Maximum: 80 °C (176 °F) |
| Size of the printer workspace (Largest printable object) | W / D / H 39 / 14.5 / 14.5 cm (15.4 / 5.7 / 5.7 inches) |
| Printer size (cable and filament chamber installed) | W / D / H 67 / 54 / 75 cm (26.4 / 21.5 / 29.5 inches) |
| Printer weight | 37.5 kg (86 lbs) |
Below you will find all error messages where you can take action yourself. For all other error messages, please contact our support (cubix@gebiom.com).
| Error | Cause | Solution |
| ERROR 211: USB removed | USB stick was disconnected during the print job. | Make sure that the USB stick has not been removed during the printing process If the error occurs and the USB stick is still in the printer, 1. check your USB stick. 2. use a different USB stick. |
| ERROR 212: File not found | The printer is trying to resume a paused print, but the file cannot be found on the USB stick. | Restart the print job. |
| ERROR 213: USB Power Fault | The USB stick used draws too much power and has been disconnected so as not to damage the printer electronics. | Remove the USB stick; then click OK and try another USB stick. |
| ERROR 410: Setup file not found | During setup, the printer cannot find the file in the root directory of the USB stick or cannot open/read it. | Make sure that the file wifi_config.cir is located in the root directory of the USB stick. Make sure that the file wifi_config.cir is not write-protected. |
| ERROR 411: Wifi connection impossible | WiFi connection timeout (probably because the router is not responding to the printer). | Try to connect again and make sure that the WiFi router is working properly. Make sure that the firewall is not blocking the IP address of the printer. |
| ERROR 412: Wifi connection impossible | The password you entered is incorrect. | Make sure that the USB stick contains the file wifi_config.cir with the correct password for the selected network. |
| ERROR 413: Wifi connection impossible | The printer cannot find the network. | Make sure that the USB stick contains the file wifi_config.cir with the correct network name. Make sure that the WiFi router is working properly and that the firewall is not blocking the printer's IP address. |
| ERROR 417: Wifi connection lost | Wifi connection lost (timeout) | Restart the WiFi transmissionCheck that the WiFi router is working properlyTry moving the printer closer to the router. |
| ERROR 520: Newer slicer required | The version of the slicer that generated the file is old and is not supported by the current firmware | Make sure that you are using the latest version of the slicer. |
| Other errors | An error has been detected that requires maintenance. | Try restarting the printer. If the problem persists, contact support (cubix@gebiom.com) and inform them of the error code. |
In some cases, the filament can get stuck in the sprockets. If the regular filament change does not help, proceed as follows:
1 | Turn the lever to idle / position 0 (anti-clockwise). | 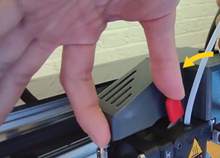 |
| 2 | Open the menu Manual controlby pressing the manual control button (1). | 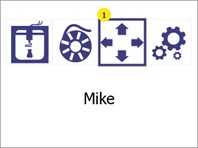 |
| 3 | Start manual heating with the temperatures (5 and 6). | 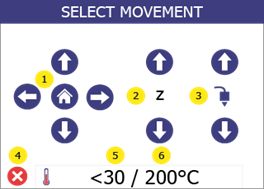 |
| 4 | Use the arrow buttons (1 and 4) to set the target temperature to 265°C and press Confirm (7) Then go back to the menu Manual controlby pressing "Back" (5). | 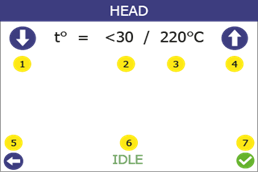 |
| 5 | Press and hold the up arrow of the extruder (3) for 5 seconds while pulling. Then press and hold the down arrow of the extruder (3) while continuing to pull. The filament should come out after 5-10 seconds. | 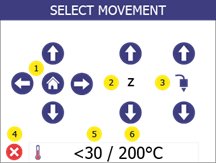 |
| 6 | Cut off the deformed piece of filament. Set the lever back to position "3". Call up the menu Filament change and follow the instructions to insert the filament. | 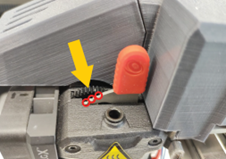 |
If the filament comes out but clogs again after another print attempt, clean the print head.
If the solution does not help and the filament is still stuck, contact cubix@gebiom.com.
Each problem is shown with possible causes and their solution. Go through the list in the order shown. If a problem cannot be solved, contact support.