GP Control is the module for displaying all data recorded in the shop. With a 2D scan, the outlines can be set by double-clicking on the scan. If the outline is not recognised correctly, this can be adjusted using a slider. The module can be used to generate different types of printouts (workshop sheets or 1:1 variants). If the inlay is to be designed on the PC or displayed in 1:1 on the screen, a shortcut in the top right-hand corner takes you directly to the GP foot measurement module.
In the Order area, an e-mail can be sent to the head office using the corresponding button or the order can be changed from New status to Ordered status.
The KV button changes the status to KV.
All cost items of the deposit are displayed individually and clearly in the print area.
The print button can be used to print out a delivery contract for the selected insert.
Under Order, you can select where the finished inlay can be collected. In addition to preset branches, there is also a function to send the insert to a specified delivery address. If postage costs are to be charged for this, Post plus postage must be ticked.
Order in a hurry can be clicked for faster processing.
Pick-up date-it is automatically advanced by 7 working days. A different date can be selected by clicking on it.
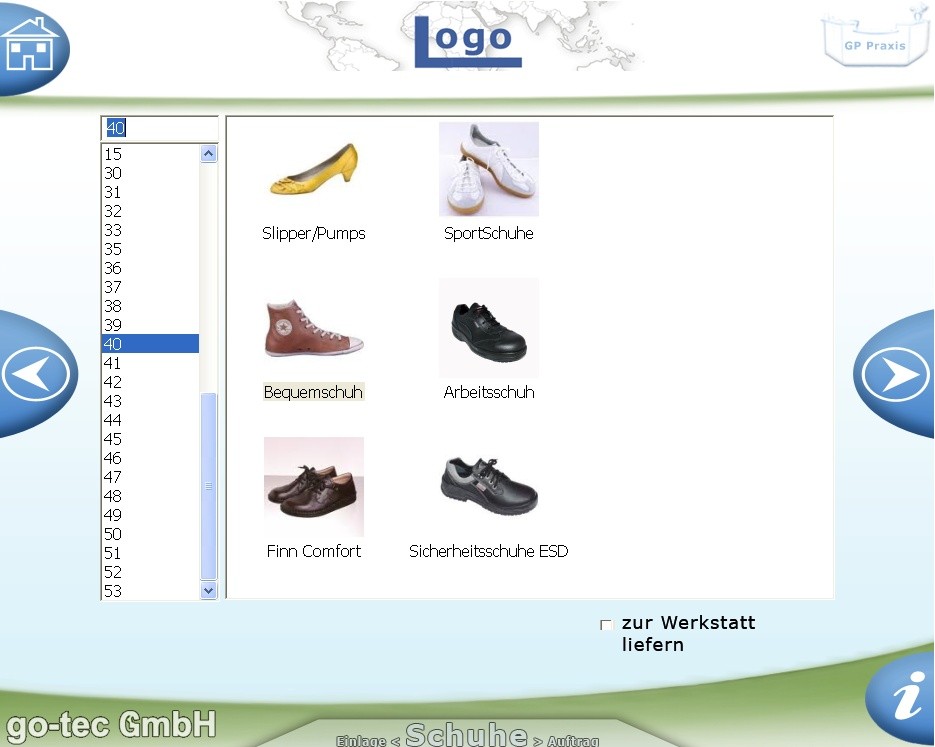
There are six standard shoe types to choose from in the shoe selection. The shoe size can be specified in either EU or UK.
Deliver to workshop is ticked when the shoes are sent to the place where the insole is manufactured.
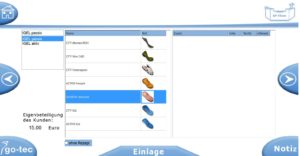
If images of the inserts are available, these can be displayed as a mini preview image in the insert selection. If no images are available, the column is simply not displayed.
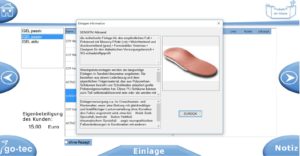
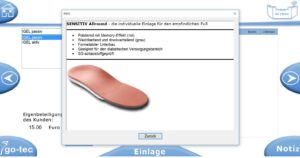
Double-click on the insert to display more detailed information. Either a standard text from the PG08
or an individual text file in which, for example, the main properties of the insert and an image are displayed. If a text file is to be displayed, it must be located in GP_Praxis\GpSystem\BIB_Texte\Praxis. The file must be in .rtf format and can contain text and images.
To create and edit deposits, please use the deposit editor. You can find instructions in our FAQs:
Basically, you can decide whether only pressure measurement, only foot scan or both should be displayed.
Pressure measurement
The pressure measurement is opened via the pressure measurement button and started with the left or right button. The measurement is automatically accepted and can be overwritten in the event of an incorrect measurement.
Foot scan
By clicking on Scan, a 2D scan is triggered and automatically accepted. Scan 2 can be used for scanning insoles.
This page is optional. If it is available, a recipe can be scanned in using the Scan button.
When purchasing a recipe scanner, care should be taken to ensure that Twain drivers are available. Alternatively, a webcam can also be used.
Patients and order information are created via the Patient area.
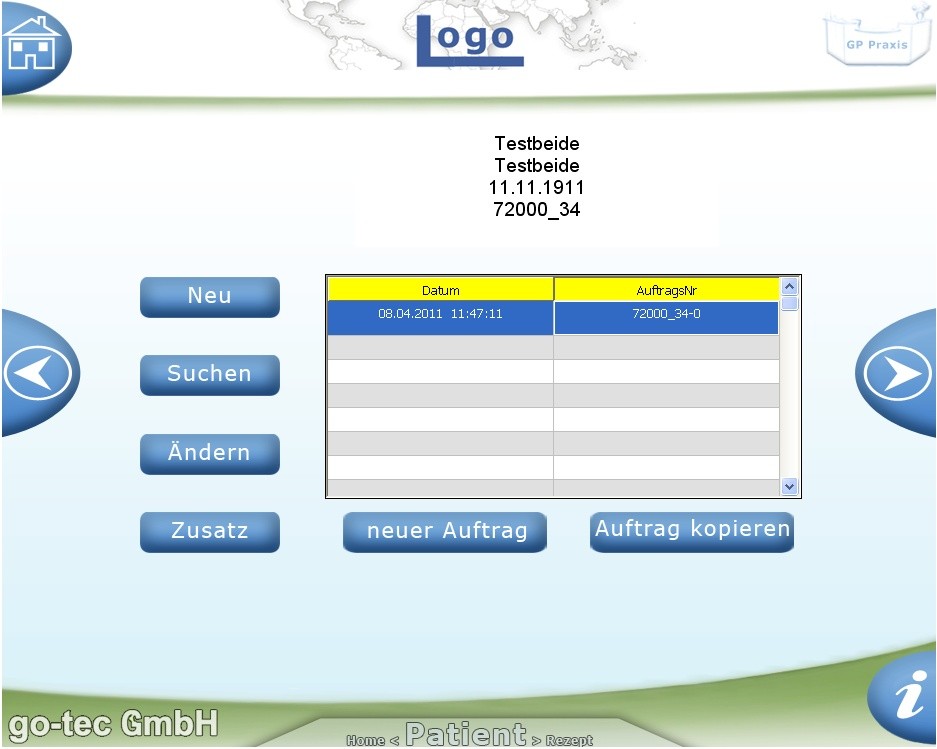
New
Patient information can be recorded using the keypad or a card reader. If a card reader has been set up, simply insert the card. The data is read automatically.
Search
Patients can be searched for either by name, customer number or date of birth.
Change
Incorrect patient information can be changed here.
Addition
Various additions such as height or previous illnesses can be entered here.
New order
A new order can only be created if patient data is available. You cannot continue without an order.
Copy order
Is selected if an existing order is to be resent.

