Setting the contrast and white balance in the U-Eye Cockpit
- Start the "Ueye Cockpit" programme (desktop icon or under Start/Programs).
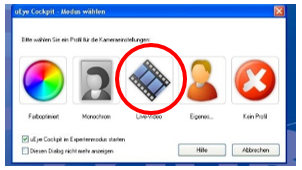
- Select the "Live video" button

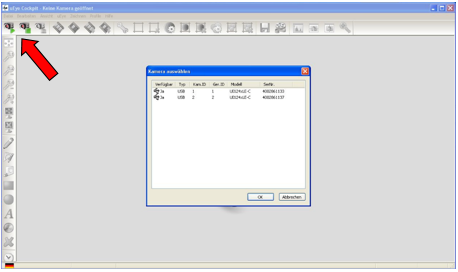
- Select the desired camera by clicking on the green play button (in the top left menu) (if only one camera is available, simply click on the play button)

- The live image from the camera is now displayed. Next, the contrast of the image is set.
- The "Automatic contrast" button is used to set the contrast.
 After pressing the button, the contrast is automatically adjusted to the camera environment. The white balance is now carried out.
 - The "Automatic white balance" button is used to set the white balance.
 This button automatically sets the white balance with the camera environment.
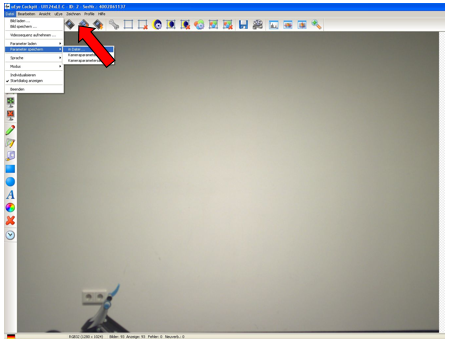
 - Finally, the changes to the parameters are saved in the corresponding file. To do this, select the menu item: File -> Save parameters -> To file and select the following path: ./GPM_V7/GPSystem/INI.
The file for the first camera is
Config_Highspeed_UEYE_1.ini (Camera 1)

The changes in the GP Manager then take effect. The GP Manager must be restarted. If several cameras are used, the above points must be carried out individually for each camera.