Last
- open the "GP LeistenDruck" module
- select the print job from the job list on
In the following, the processing of a leg last with the "Robust" set is explained; the processing can be transferred to the other sets and half shoe lasts:
- In the first step, adjust the cuts of the individual parts:
- Pull the upper orange arrow on the leg to the desired height
- Drag the orange arrow on the plantar surface of the last to change the cut
NOTE: Also make sure that the cut is not too shallow. The plantar surfaces should have an angle of at least 45° to the print bed, for example.

- Changing the screws:
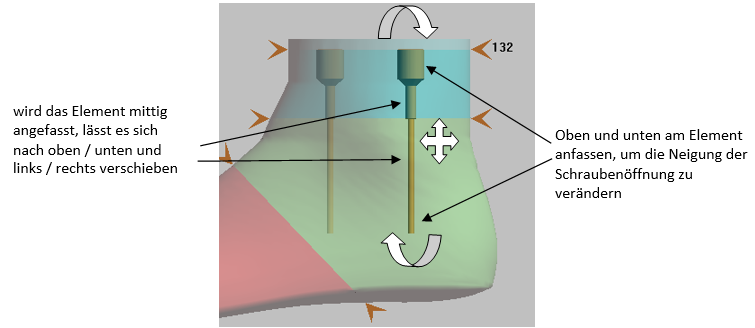
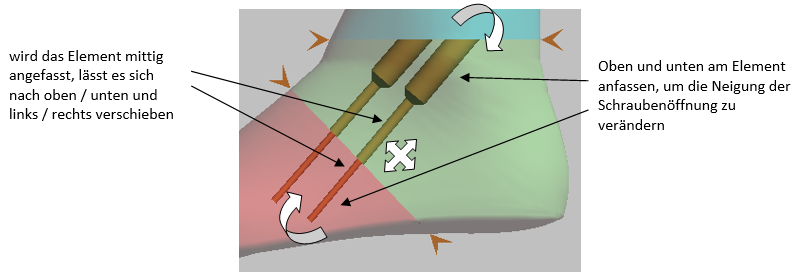
- Changing the pins:
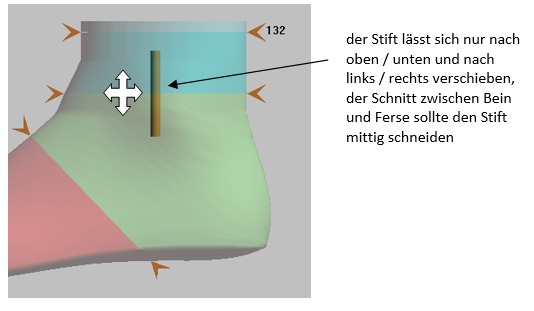

- Changing the threaded rods:
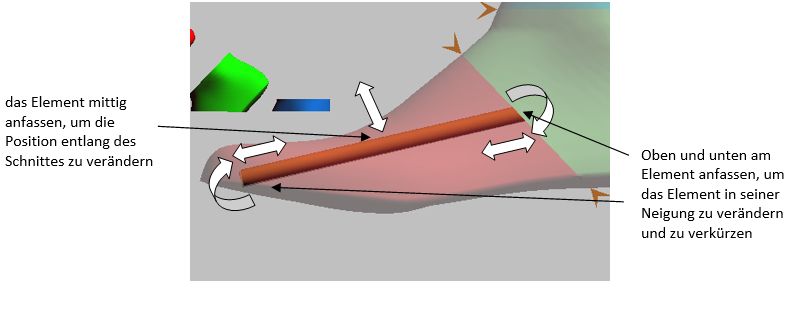
- Changing the openings for moulding:
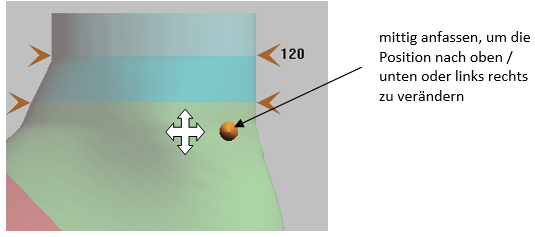
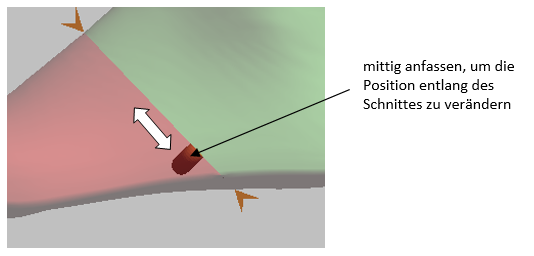
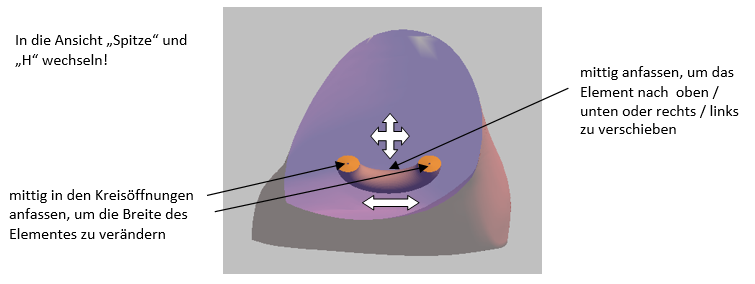
NOTE: Please also check the position of the individual elements in the other standard views and in the views of the individual parts
NOTE: Please ensure that individual openings do not overlap!
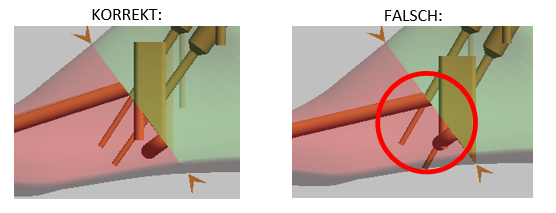
NOTE: The individual elements should be at least 3 mm from the edge of the moulding!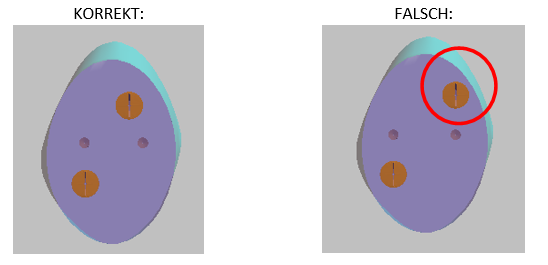
NOTE: The individual elements should lie within the moulding and not protrude from the moulding. The best way to check this is to turn the moulding.

5. after you have positioned the elements, please click on "Create print file"
6. Switch to the right moulding and repeat the positioning of the elements and cuts
7. click on "Create print file"
8. once you have created the print file for both pages, click on "Done" and finalise the print job