Trial shoe
- open the "GP LeistenDruck" module
- select the print job from the job list on
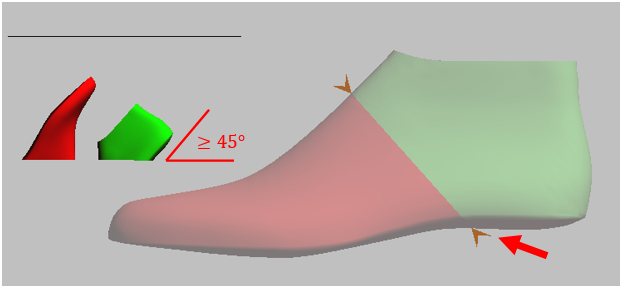
- a Low shoe lasts is displayed in two parts as standard:

Pull on the orange arrow on the plantar surface of the trial shoe (p. red arrow) to change the cut
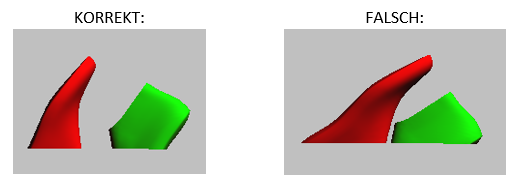
NOTE: When positioning the cut, you should ensure that the individual parts are not positioned too flat on the print bed. For example, the plantar surfaces should have an angle of at least 45° to the print bed.

4. a Leg mouldings is divided into three parts as standard:

Pull on the orange arrows to change the cut. The upper orange arrow shows you the height of the leg last. Also make sure that the cuts are not too shallow when making the leg last.
NOTE: You can also print a leg last in two parts by also pulling the cut between the leg and heel up to the cut of the leg. However, always pay attention to the positioning on the print bed.