Sets
When printing the moulding, you can choose between four sets with different connecting elements. The selected set is highlighted in blue.
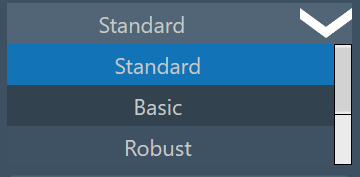
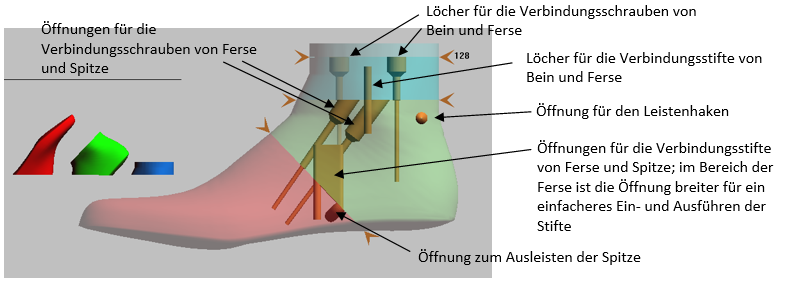
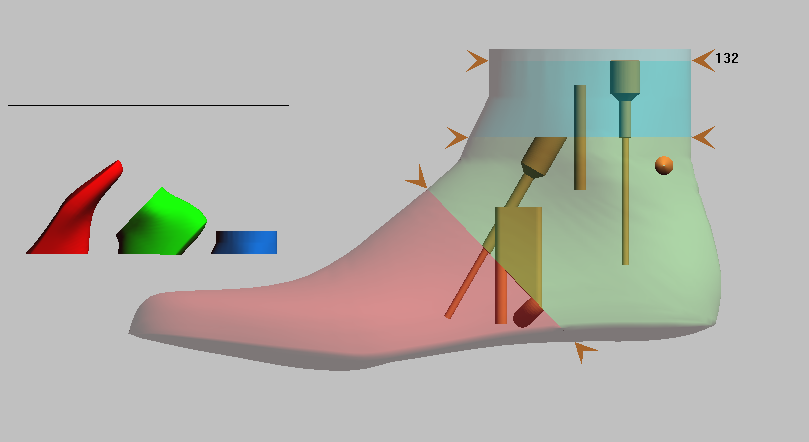
The set "Standard" divides leg slats into three parts as standard: toe, heel and leg. The toe and heel parts, as well as the heel and leg parts, are each connected to each other using two metal pins and two screws. Low shoe lasts are divided into two parts: Toe and heel.
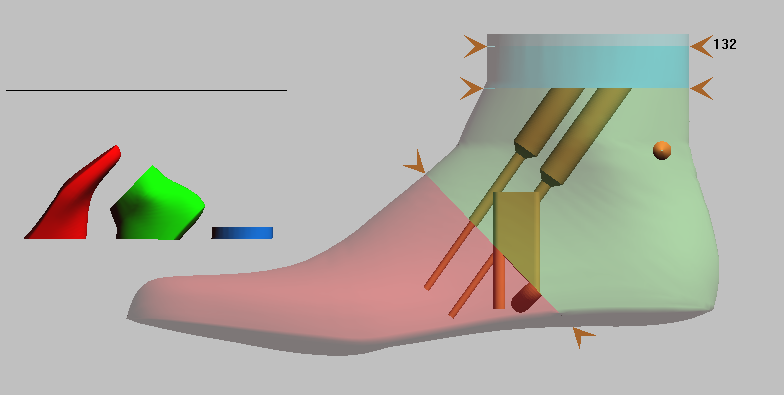
With the set "Basic", leg lasts are also divided into just two parts: toe and heel. The two parts are also joined together using two screws and two pins. This set is recommended if you want to print leg mouldings with a low height.
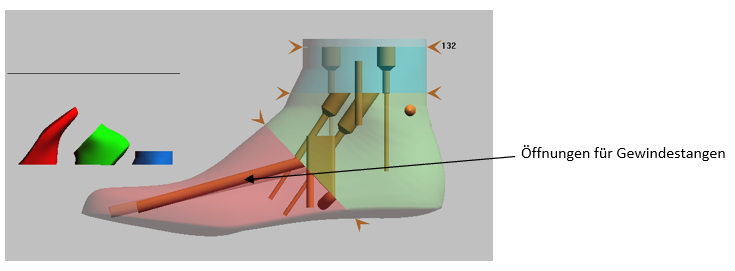
The set "Robust" should be used if your lasts are exposed to greater loads during shoe production, e.g. from a lasting machine. In this set, the leg lasts are divided into three parts as in the "Standard" set. However, in addition to the two pins and screws, two channels are built into the tip, in which you can install threaded rods to increase the stability of the last.
With the set "Kids", there is only one opening for one connecting screw and one connecting pin between the individual parts. This set is recommended for small, narrow mouldings.
If you want to change the stand selection of the set, go to the "GP Admin" module in the module overview:
Then open the "INI settings":

The following window opens:
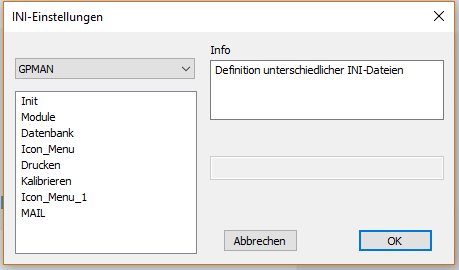
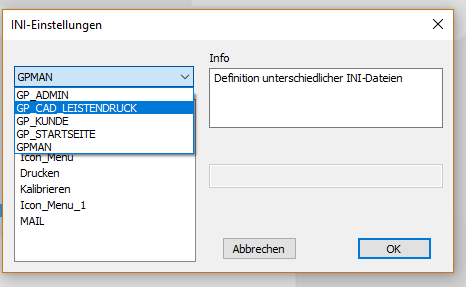
The correct INI must be selected in the drop-down menu: GP_CAD_LEISTENDRUCK
Then double-click to select the "Elements_Sets" parameter:
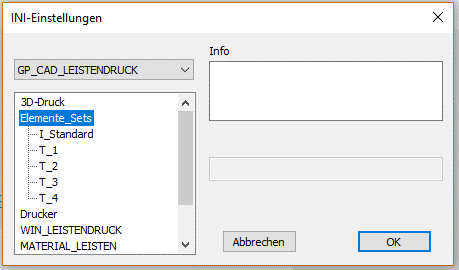
Now select the "I_Standard" parameter:
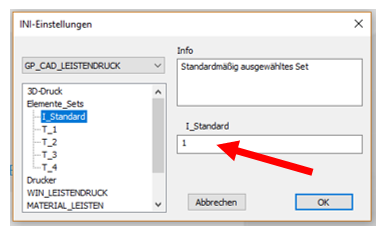
You can now enter the corresponding parameter in the field on the right-hand side (red arrow). The "1" stands for the "Standard" set, the "2" for "Basic", the "3" for "Robust" and the "4" for the "Kids" set. Click on "OK" to save the corresponding parameter. If you now open the "GP LeistenDruck" module again, the change should take effect immediately. Otherwise, please restart the GP Manager.