The filament chamber serves as a place to keep the filament used by the printer ready and at the same time to keep the condition of the filament stable.
When the filament chamber is supplied with power, a red light in the chamber switches on.
WARNINGIf the power supply is disconnected (power button on the back (OFF/0) or the cable has been removed), make sure that the filament is removed from the filament chamber and stored in a dry and warm (min. room temperature) environment.
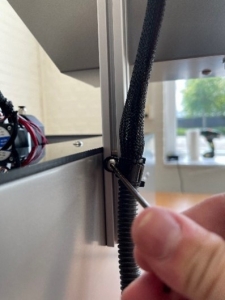
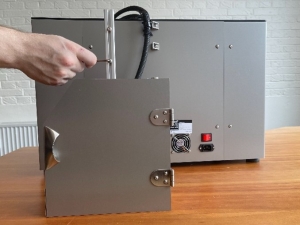
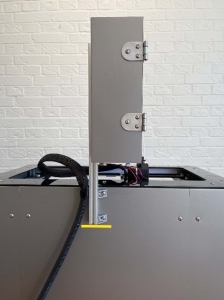
Once the filament chamber is mounted, the next step is to attach the print head cable to the profile.
| 1 |
Remove the screw from the profile.
|
|
2 |
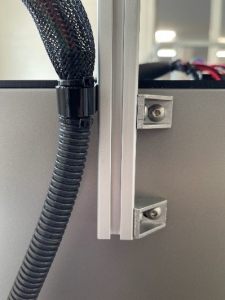
Position the cable holder and then tighten the screw.
WARNINGBefore tightening the screw, make sure that the cable holder is aligned with the upper bracket on the other side of the aluminium profile. |
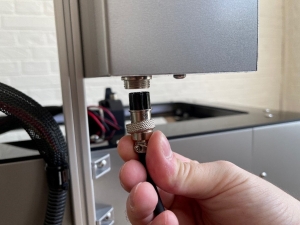
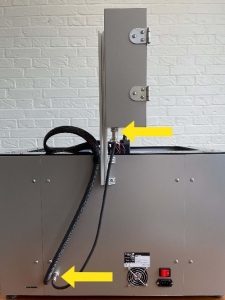
Connect the 4-pin plug to the filament chamber and screw it tight. Connect the other end of the cable to the printer in the same way.
IMPORTANT: The filament chamber is always switched on when the main power switch is switched on. This ensures the correct environment for the filament in the chamber, even when the printer is in stand-by mode. Before switching off the filament chamber, please make sure that you have stored the filament in another location with controlled temperature and humidity.
For installing the filament chamber on the printer:
| 1 |
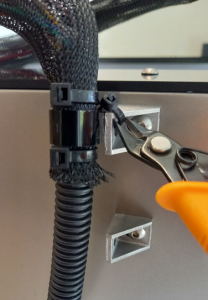
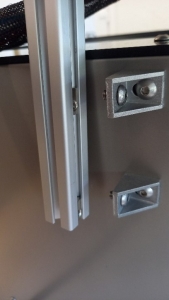
Cut off the cable tie, if present, that holds the print head cable to the bracket.
|
| 2 |
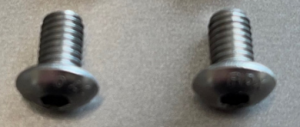
Remove the 2 screws mounted on one of the sides of the aluminium profile.
|
|
3 |
Insert the screws into the holes in the angle brackets and fasten the aluminium profile so that the underside of the profile is flush with the lower side of the angle bracket.
WARNING: When placing the aluminium profile, make sure that the print head cable is on the opposite side of the angle brackets.
|
|
4 |
Tighten the screws.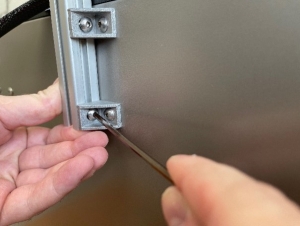 |
When the print bed is raised, the large box can be removed from the printer. Inside is the filament chamber (1) with the fastening screws and nuts that are attached to the profile.

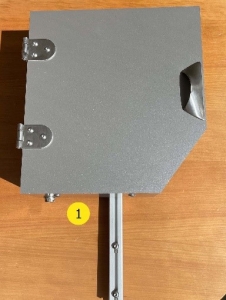
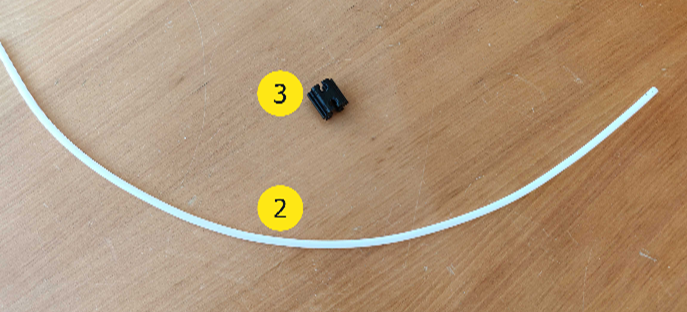
- A filament tube (2) into which the filament must be inserted before printing.
- A connecting piece (3) which is attached to the filament chamber and holds the filament tube in place.
To avoid damage during the last part of the printer installation, the printer must be completely switched off.
| 1 | Switch off the printer.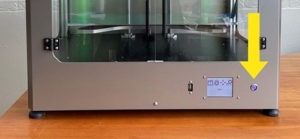 |
|
2 |
Switch off the mains power switch. |
|
3 |
Disconnect the mains cable.
|
To remove the large box from the printer, the print bed must be lifted.
This is done via the menu Manual control:
| 1 | Open the menu Manual control (1). |
|
2 |
Hold the button Z top (1) to move the print bed all the way up (when it reaches the limit, the print bed will stop moving).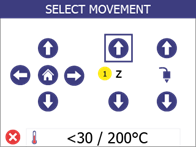
Note: You can safely switch off the printer in this menu. |
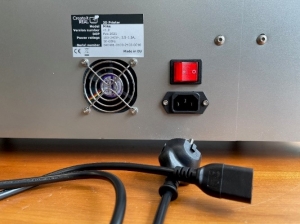
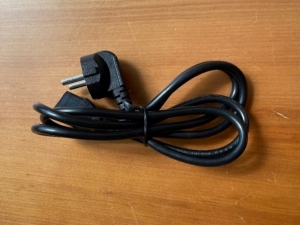
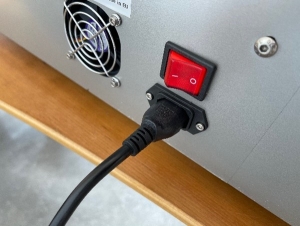
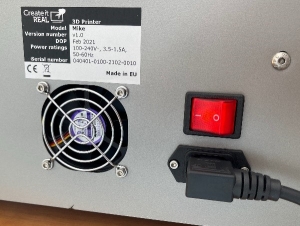
| 1 | Connect the supplied IEC AC cable to the plug on the back of the printer.
Connect the other end of the cable to the socket with earthing connection.
IMPORTANT: The red switch must be in the 0 position (OFF) when the mains cable is installed. |
|
2 |
Switch on the mains switch on the rear panel.
This switch controls: 1. internal power supply 2. power supply to the filament chamber
|
|
3 |
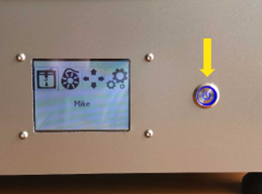
Use the ON/OFF button on the front to get the printer out of stand-by mode.
Note: In stand-by mode, power is only supplied to the filament chamber and the internal power supply unit. All other parts of the printer are OFF. |
| 1 |
If present, cut the 3 cable ties that hold the moving parts of the printer in place for transport.
|
|
2 |
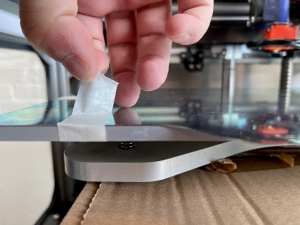
Remove the adhesive tape holding the print surface to the print bed.
|

