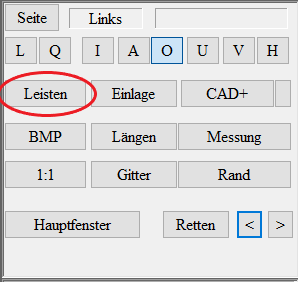
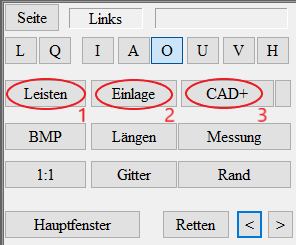
OptiCAD can be found under the "Strips" button.
This allows you to model lasts with the help of 2D and 3D scans and pass them on to a 3D printer or milling machine to print/mill a finished last. You can also create a trial shoe without first having a real last.
A complete explanation of the OptiCAD module can be found in the GP OptiCAD manual.
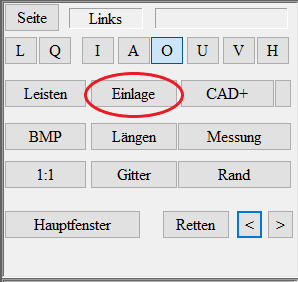
InsoleCAD is located behind the "Insoles" button.
This allows you to model the top of the inserts using 2D and 3D scans and pass them on to a 3D printer or milling machine to print/mill a finished insert. You can also define the share hardness for the 3D under the "Cubify" button.
A complete explanation of the InsoleCAD module can be found in the GP InsoleCAD manual.
Below you will find a brief overview of the sub-modules.
GP Cad is a module of the GP Manager. This module contains the sub-modules for inlay, bedding and slat construction. Double-click to open this module.
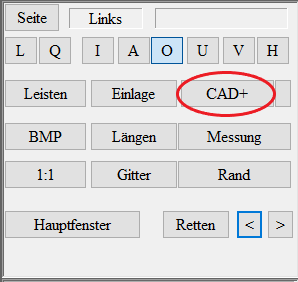
The GP Cad module contains the three sub-modules InsoleCad (2nd "Insoles" button), OptiCad (1st "Lasts" button) and CAD+ (3rd "CAD+" button). These sub-modules are purchased individually and activated accordingly by our support staff via remote access to your computer.
