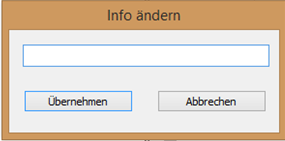
After clicking on "Info", you can enter information on the data record in a dialogue box, which is displayed in the display area.

The information is entered in the text line and displayed directly in the respective display area by clicking on "Apply". After clicking on "Cancel", the entry is discarded.

AttentionIf you have opened the dialogue and do not want to change the entry, click on "Apply".

If a measurement has been zoomed in the force-time diagram, the remaining part of the measurement can be deleted using the "Cut" function, i.e. only the part of the measurement that is currently visible is saved. The function is carried out without prompting, so it should be used with caution.

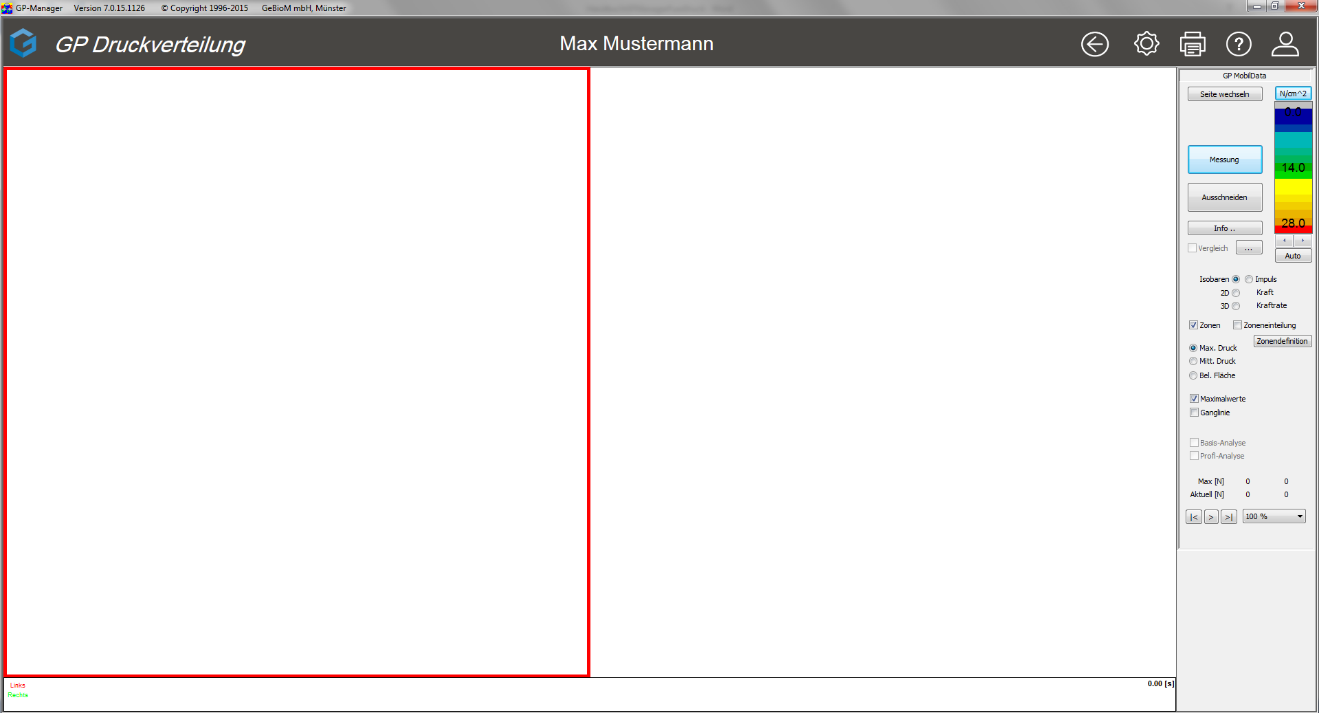
Click on the "Change page" button to change the active zone (red rectangle) of the display area. Another way to change the active zone is to click once with the left mouse button in the corresponding zone.

The force-time diagram is located below the display area. In it, the total force is plotted as a function of time. The total force of the left foot is shown as a red line and that of the right foot as a green line.

A simple left mouse click in the diagram selects a point in time and displays the respective pressure distribution image in the display area. The selected point is indicated by a black vertical marker. At the same time, the current force values are displayed in the "Current [N]" line in the force display area. The selected point in time appears in the top right-hand corner of the diagram.

If you move the marker while holding down the left mouse button, a "quasi real-time" display of the gait pattern is shown. The right or left arrow key on the keyboard offers another option for scrolling through the gait pattern. The scrolling direction corresponds to the arrows.

You can also zoom in on a specific area of the diagram. To do this, press the CTRL key and simultaneously drag a rectangle with the mouse (left mouse button) over the area to be zoomed. The entire measurement is displayed again by left-clicking while holding down the CTRL key.

On the display area of GP FootPrint the gait patterns are displayed after a measurement or after opening a measurement. However, the measurements of other measuring surfaces (e.g. hand, arm, etc.) can also be displayed. With a click on older measurements of the customer can be selected.

To start the module from the start page, you must first select a customer or create a new one. To do this, please click on the following symbol in the top right-hand corner . To create a new customer, click on   and fill in at least the mandatory fields (*). Via the arrow to return to the start page and start the GP foot pressure module.

This takes you to the user interface of the measured value recording module. This module is used to record measured values from the connected GeBioM hardware and process measurements. A new measurement is started by clicking on "Measurement".

  1. Insert the supplied CEBO-Connect-stick into a USB socket on your PC
  2. Both channels, the first-time use, connect it to a USB-C charger and thus activate it (Attention: No Apple charger!).
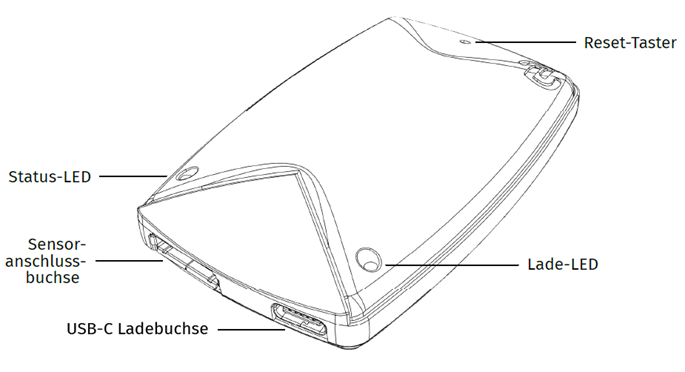
  3. Status LED of the transmitter now flashes green
  4. Connect the measuring soles to the transmitters. Pay attention to the correct labelling (L= left; R= right).
  5. Attention: Make sure that the plug engages correctly!
  6. Place the soles in the shoes (white side up)
  7. Slide the transmitters into the loop of the leg straps supplied and attach them to the customer's lower leg. The cable should not be under tension.
  8. Now open the already installed GP Manager and start a measurement in the GP foot pressure module

Both transmitters must be charged before using them for the first time. Charge the devices with the enclosed USB-C cable. Attention: Apple Chargers do not work!

During the charging process, the charging LED lights up green continuously. When the battery is fully charged, the charging LED flashes green and the cable can be removed.

Attention: If the charging LED lights up red or flashes red, remove the charging cable immediately and contact the manufacturer!

The device is active after the first charging process. The status LED flashes orange. The status LED flashes at different speeds depending on the status of the device.

  • Flashes 1x every 10s -> Deep sleep mode
  • Flashes 1x every 3s -> sleep mode
  • Flashes 2x -> Device is paired
  • Fast flashing -> Data transmission

Thanks to the Bluetooth low-energy technology the battery life is usually several weeks/months. During the measurement, the battery status is displayed in the LIVE preview. The device switches to deep sleep mode when not in use to save power. It is not necessary to switch off the device as it has an extremely low power consumption in sleep mode. It is only possible to switch off the device by removing the battery, which we strongly advise against!

As with conventional lithium-ion batteries, it is not necessary to constantly charge the battery to 100%. A capacity between 40-80% is optimal. Even if the device is not used for several weeks.

Only rechargeable batteries of type 16340 RC123A may be used. Please contact the manufacturer if you wish to replace the battery!
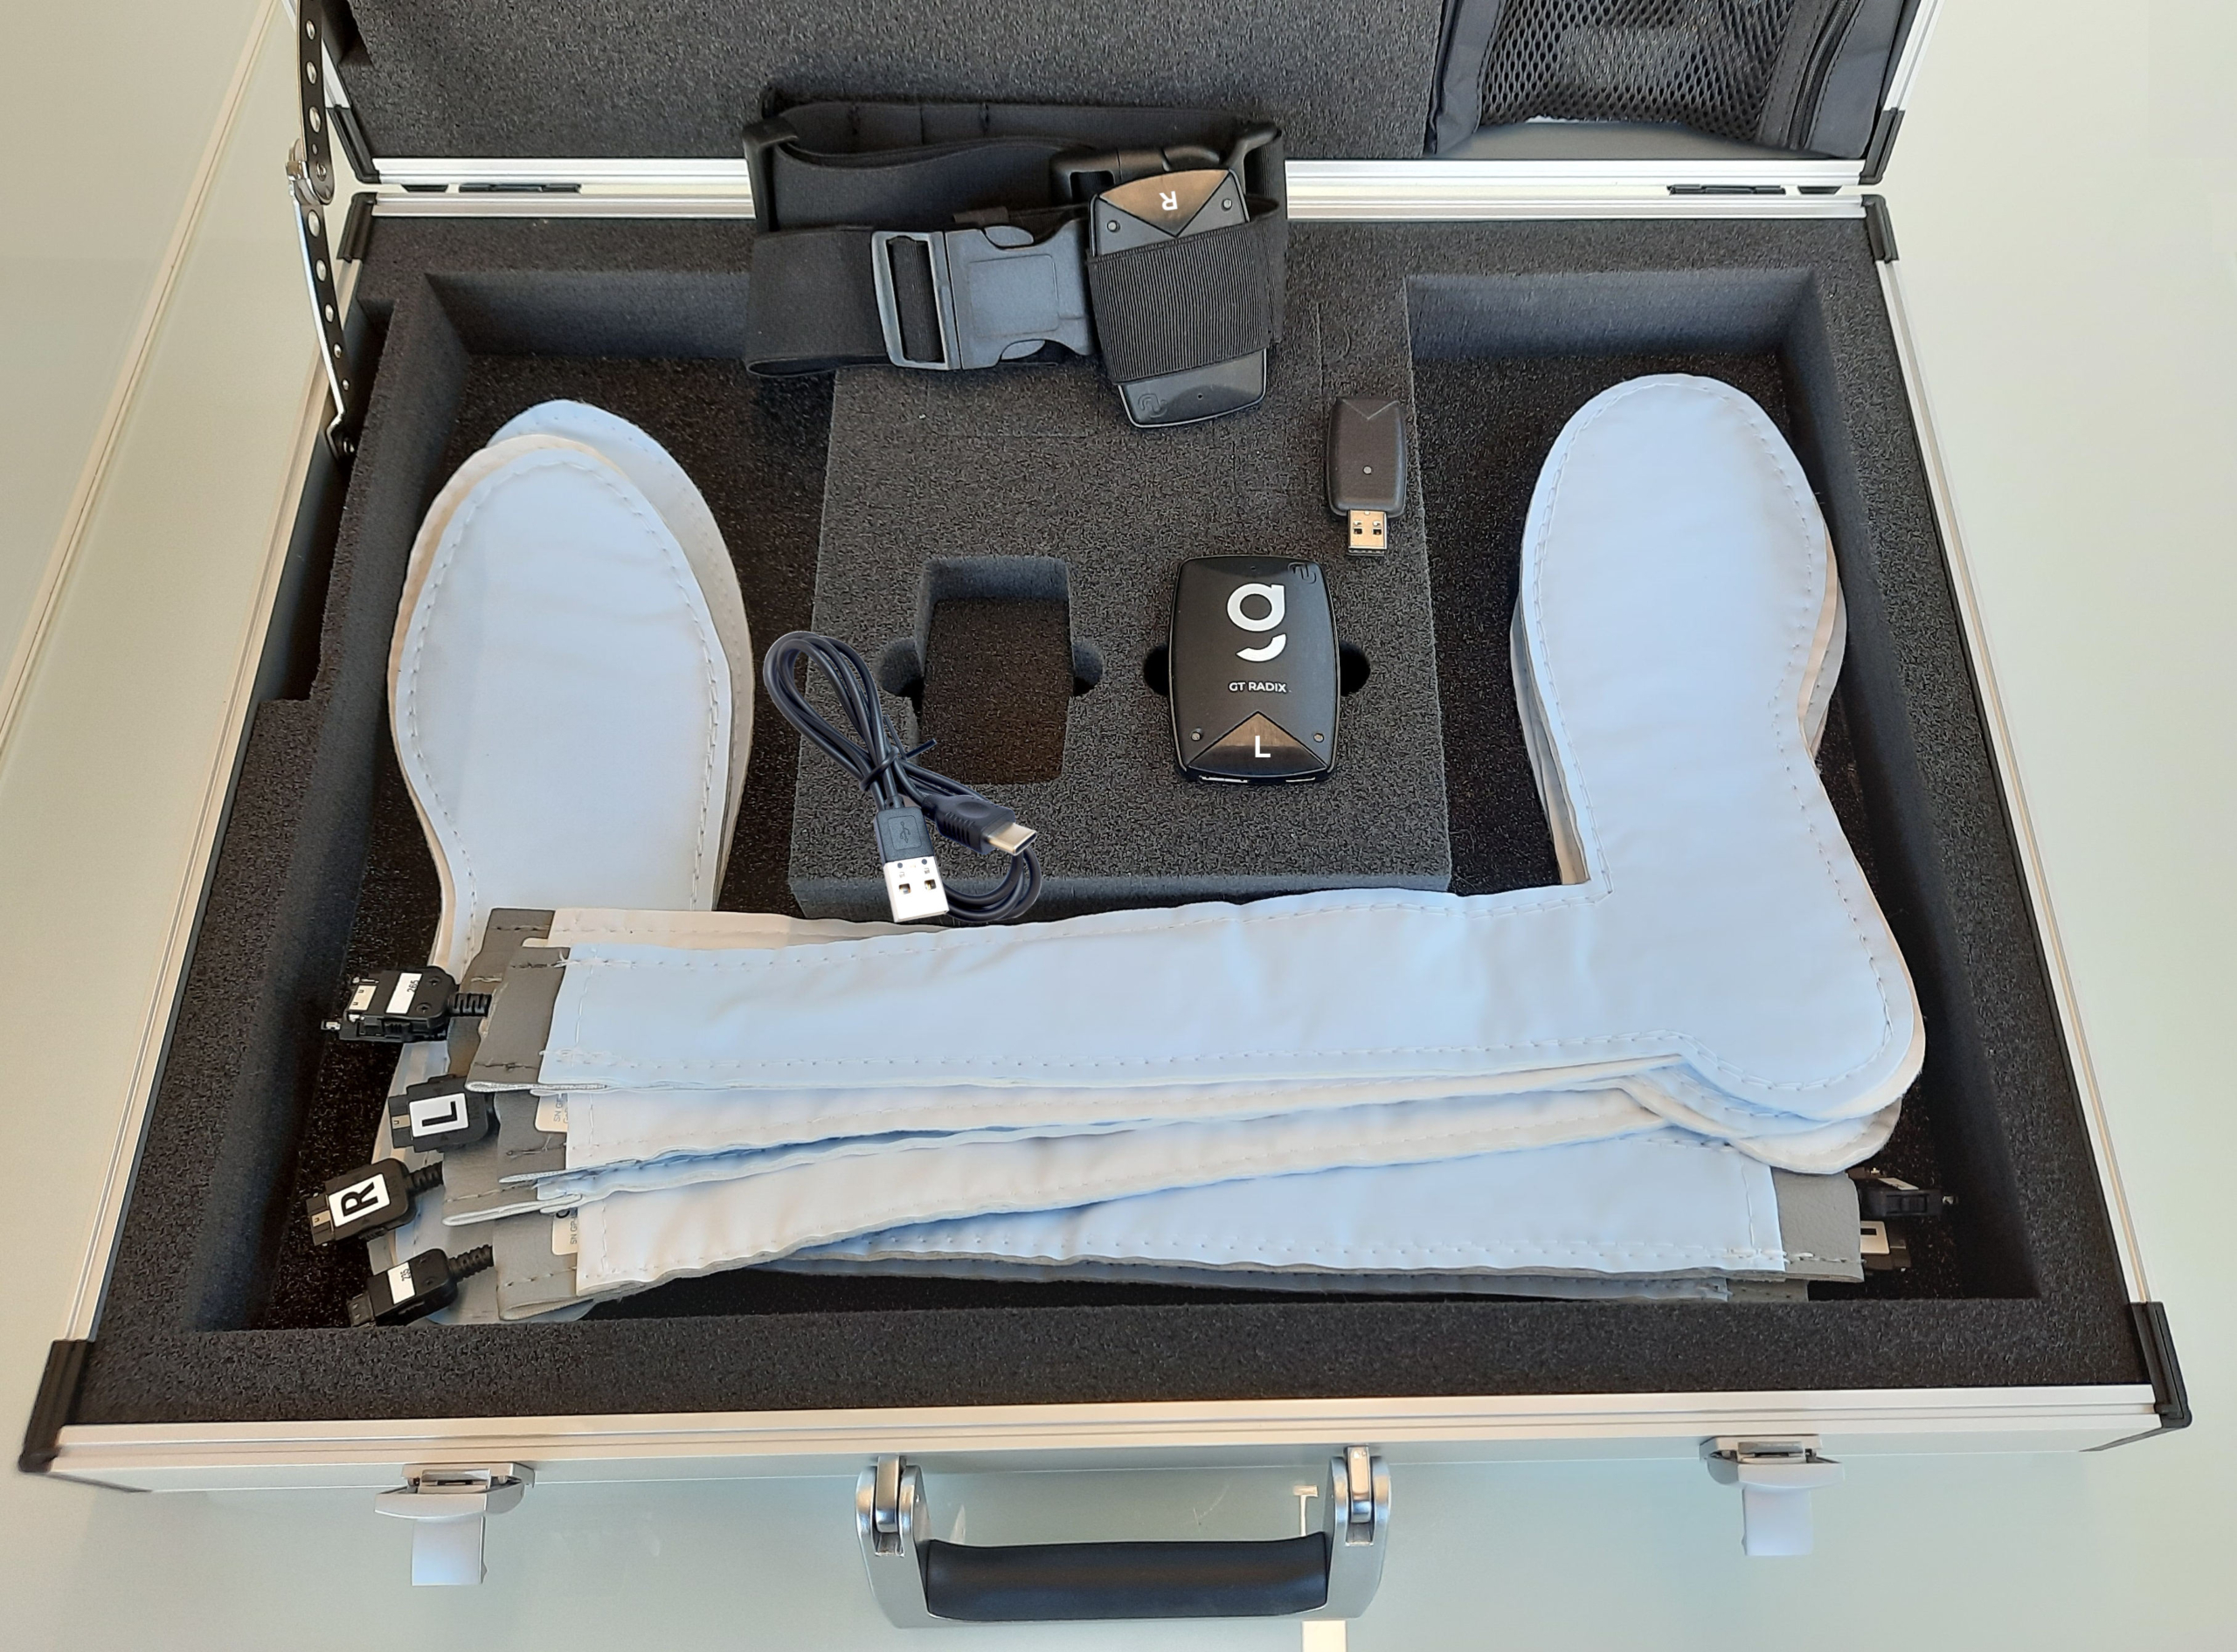
  • Measuring soles (5 pairs as standard)
  • 2x GT Radix transmitter
  • 1x USB-C charging cable
  • 1x CEBO Connect Stick
  • 2x leg straps
  • 1x transport case