The "3D" radio button causes a change to a 3D pressure map. Please note that this only applies to the gait pattern of the active zone (red rectangle). The "Change page" button at the top of the screen allows you to quickly switch to the other measured foot.
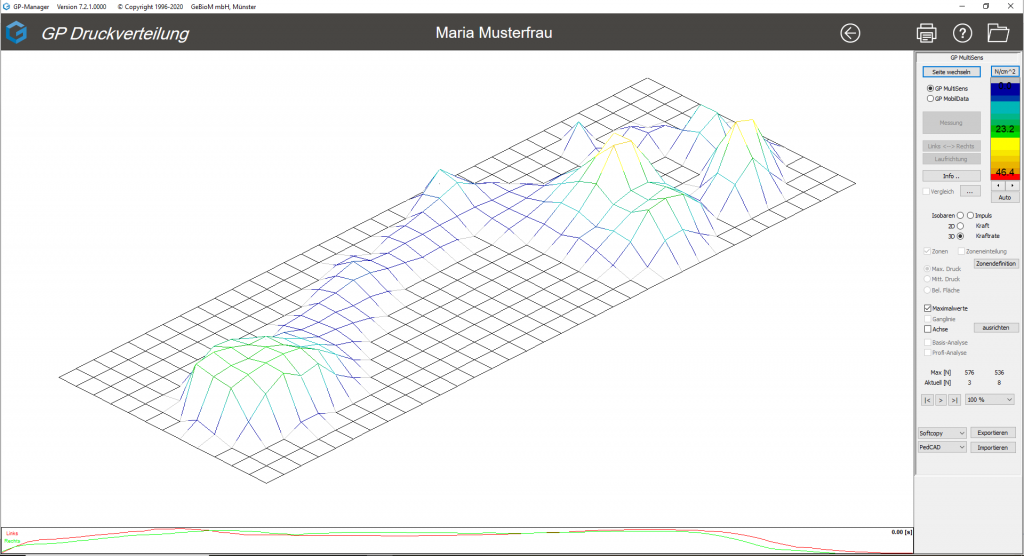
Figure 12: 3D printed mountains

You can view the 3D visualisation from different perspectives. Click in the workspace and rotate the measurement while holding down the left mouse button.

By moving the mouse vertically while holding down the CTRL key, the print area is raised or flattened. This function can be useful when preparing a printout.
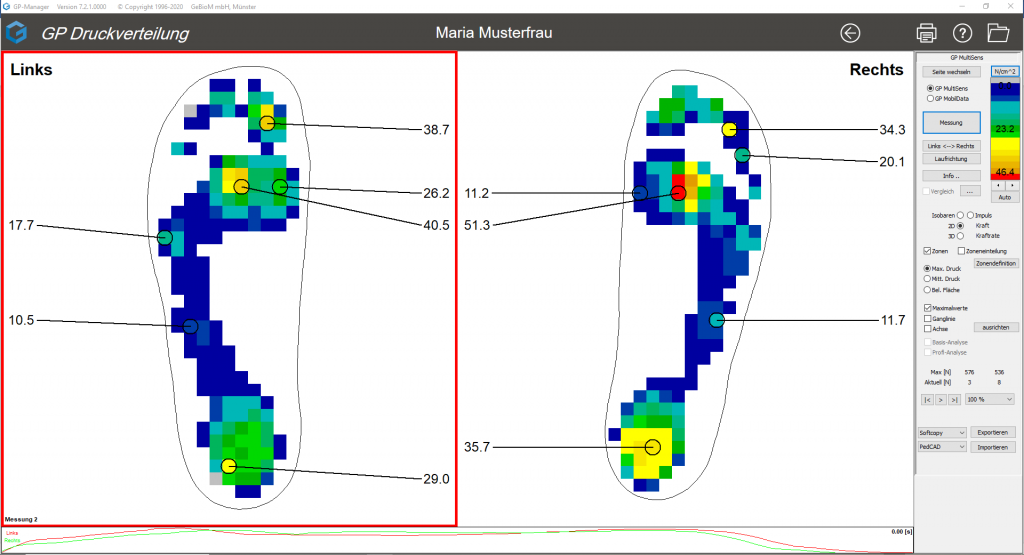
After activating the "2D" radio button, the print image is displayed in the form of colour fields/pixels.

Figure 11: 2D representation

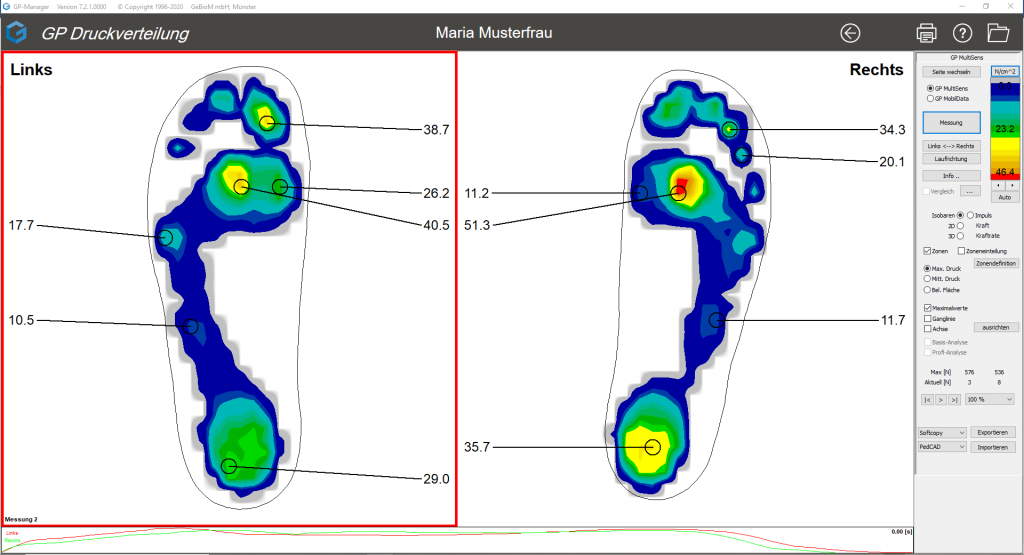
In the default setting, the pressure distribution is shown in the isobar display (see Figure 10).


The various high pressure ranges merge seamlessly into one another. The "Isobars" radio button is activated.

Figure 10: Isobar representation

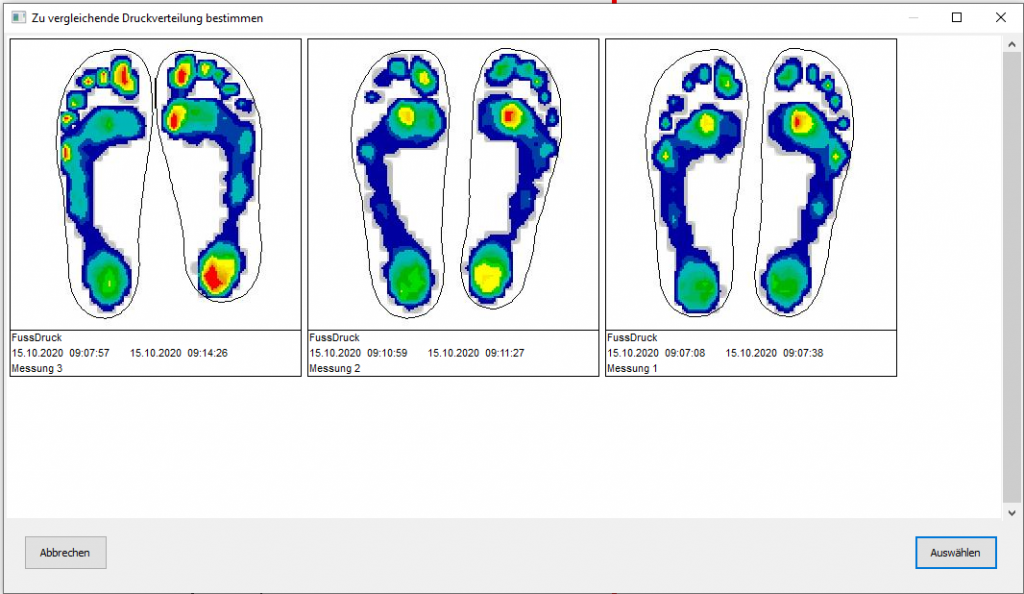
You can compare the currently open measurement with another measurement. To do this, click on the button  and select the desired comparison measurement in the preview window.

Figure 9: Select comparative measurement

To see the selected comparison, you must tick the checkbox in front of the comparison

If you deactivate the checkbox, you will return to the initial measurement.

GeBioM recommends regular calibration of the measuring system by the manufacturer, at least once a year. If the system is used almost daily, the calibration should be repeated more often.

Each foot is divided into different zones so that it can be

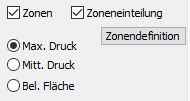
can be analysed in more detail. If you activate the "Zoning" checkbox, the zones are displayed in colour. The following 6 zones are defined for the stance: Heel, midfoot, ball of foot inside, ball of foot centre, ball of foot outside, toes. You can find an overview by clicking on Zone definition.

If the "Max. pressure" selection is activated, the height and location of the maximum pressure of the respective zone is displayed. Alternatively, you can also display the average pressure or the size of the loaded area [mm²] of the respective zone. Here too, you can jump to any point in the force-time diagram.

You can read how to define the zones individually according to your requirements in chapter 3.3.9.

Below the pressure distribution is the force-time diagram (see Figure 8). In it, the total force is plotted as a function of time. The force progression of the left foot is shown as a red line and that of the right foot as a green line.

Figure 8: Force-time diagram

A simple left mouse click in the diagram selects a point in time and displays the respective pressure distribution image in the display area. The selected point is indicated by a black vertical marker and the time is shown in seconds at the end of the force-time curves. At the same time, the current force values are displayed on the right in the "Current [N]" line.

If you move the marker while holding down the left mouse button, a "quasi real-time" display of the gait pattern is shown. The right or left arrow key on the keyboard offers another option for scrolling through the gait pattern. The scrolling direction corresponds to the arrows.

You can also zoom into a specific area of the diagram. To do this, press the CTRL key and simultaneously drag a rectangle with the mouse (left mouse button) over the area to be zoomed. The entire measurement is displayed again by left-clicking while holding down the CTRL key.