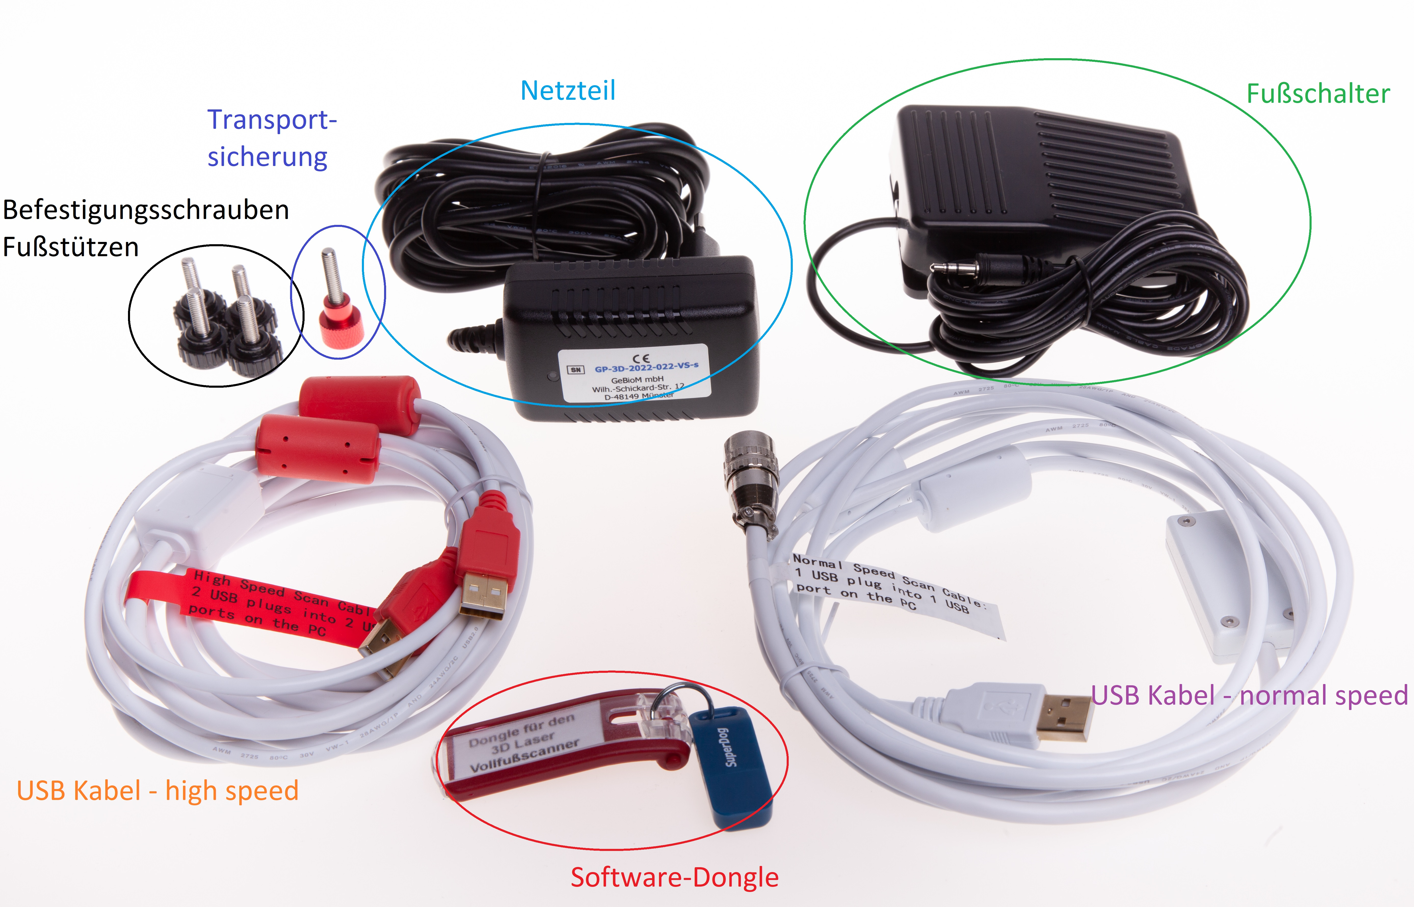
GT George, GT George MAX and GP LaserScan 3D total foot one
There are different 3D scanners. The easiest way to differentiate between 3D scanners is by their housing.
- GT George FLAT
- 3D Scanner F2
- 3D Scanner F
In case of support, please also note our Compatibility list.
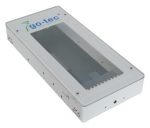
The GT George FLAT is the latest model. The device is more compact than its predecessor. The upper side of the housing consists of a continuous perspex panel.
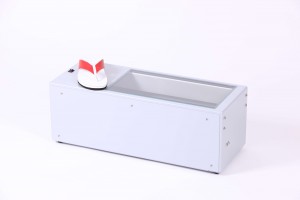
The 3D Scanner F2 is the predecessor model. The upper side of the housing consists of a continuous Perspex panel.
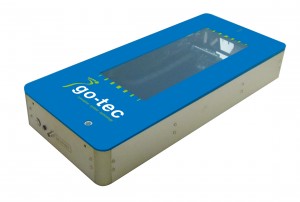
At the 3D Scanner F the housing is blue.
The different models of our Full foot scanner you will find here.
The following 3D scanners are no longer supported by us!
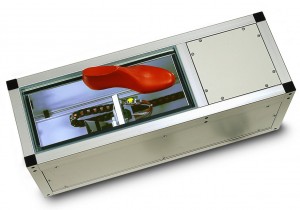
The 3D scanner and the 3D Scanner C both have a silver housing. The two scanners can be distinguished by the housing, the frame of the 3D scanner consists of square aluminium profiles, which are closed at the ends with black plastic caps. The housing of the 3D Scanner C consists only of panels on the outside.
The two scanners can also be distinguished by their serial numbers.
- 3D scannerThe serial number ends with a number (see Figure 4, the last 5 digits differ depending on the scanner)
- 3D Scanner CThe serial number ends with "C" (see Figure 5, the last 5 digits before the C are variable)
There are various 3D full-foot scanners. The easiest way to differentiate between the scanners is by the housing.
- GT George
- GT George MAX
- GP LaserScan totalfoot one
If you need support, please also refer to our Compatibility list.
The full-foot scanner GT George is the current model.
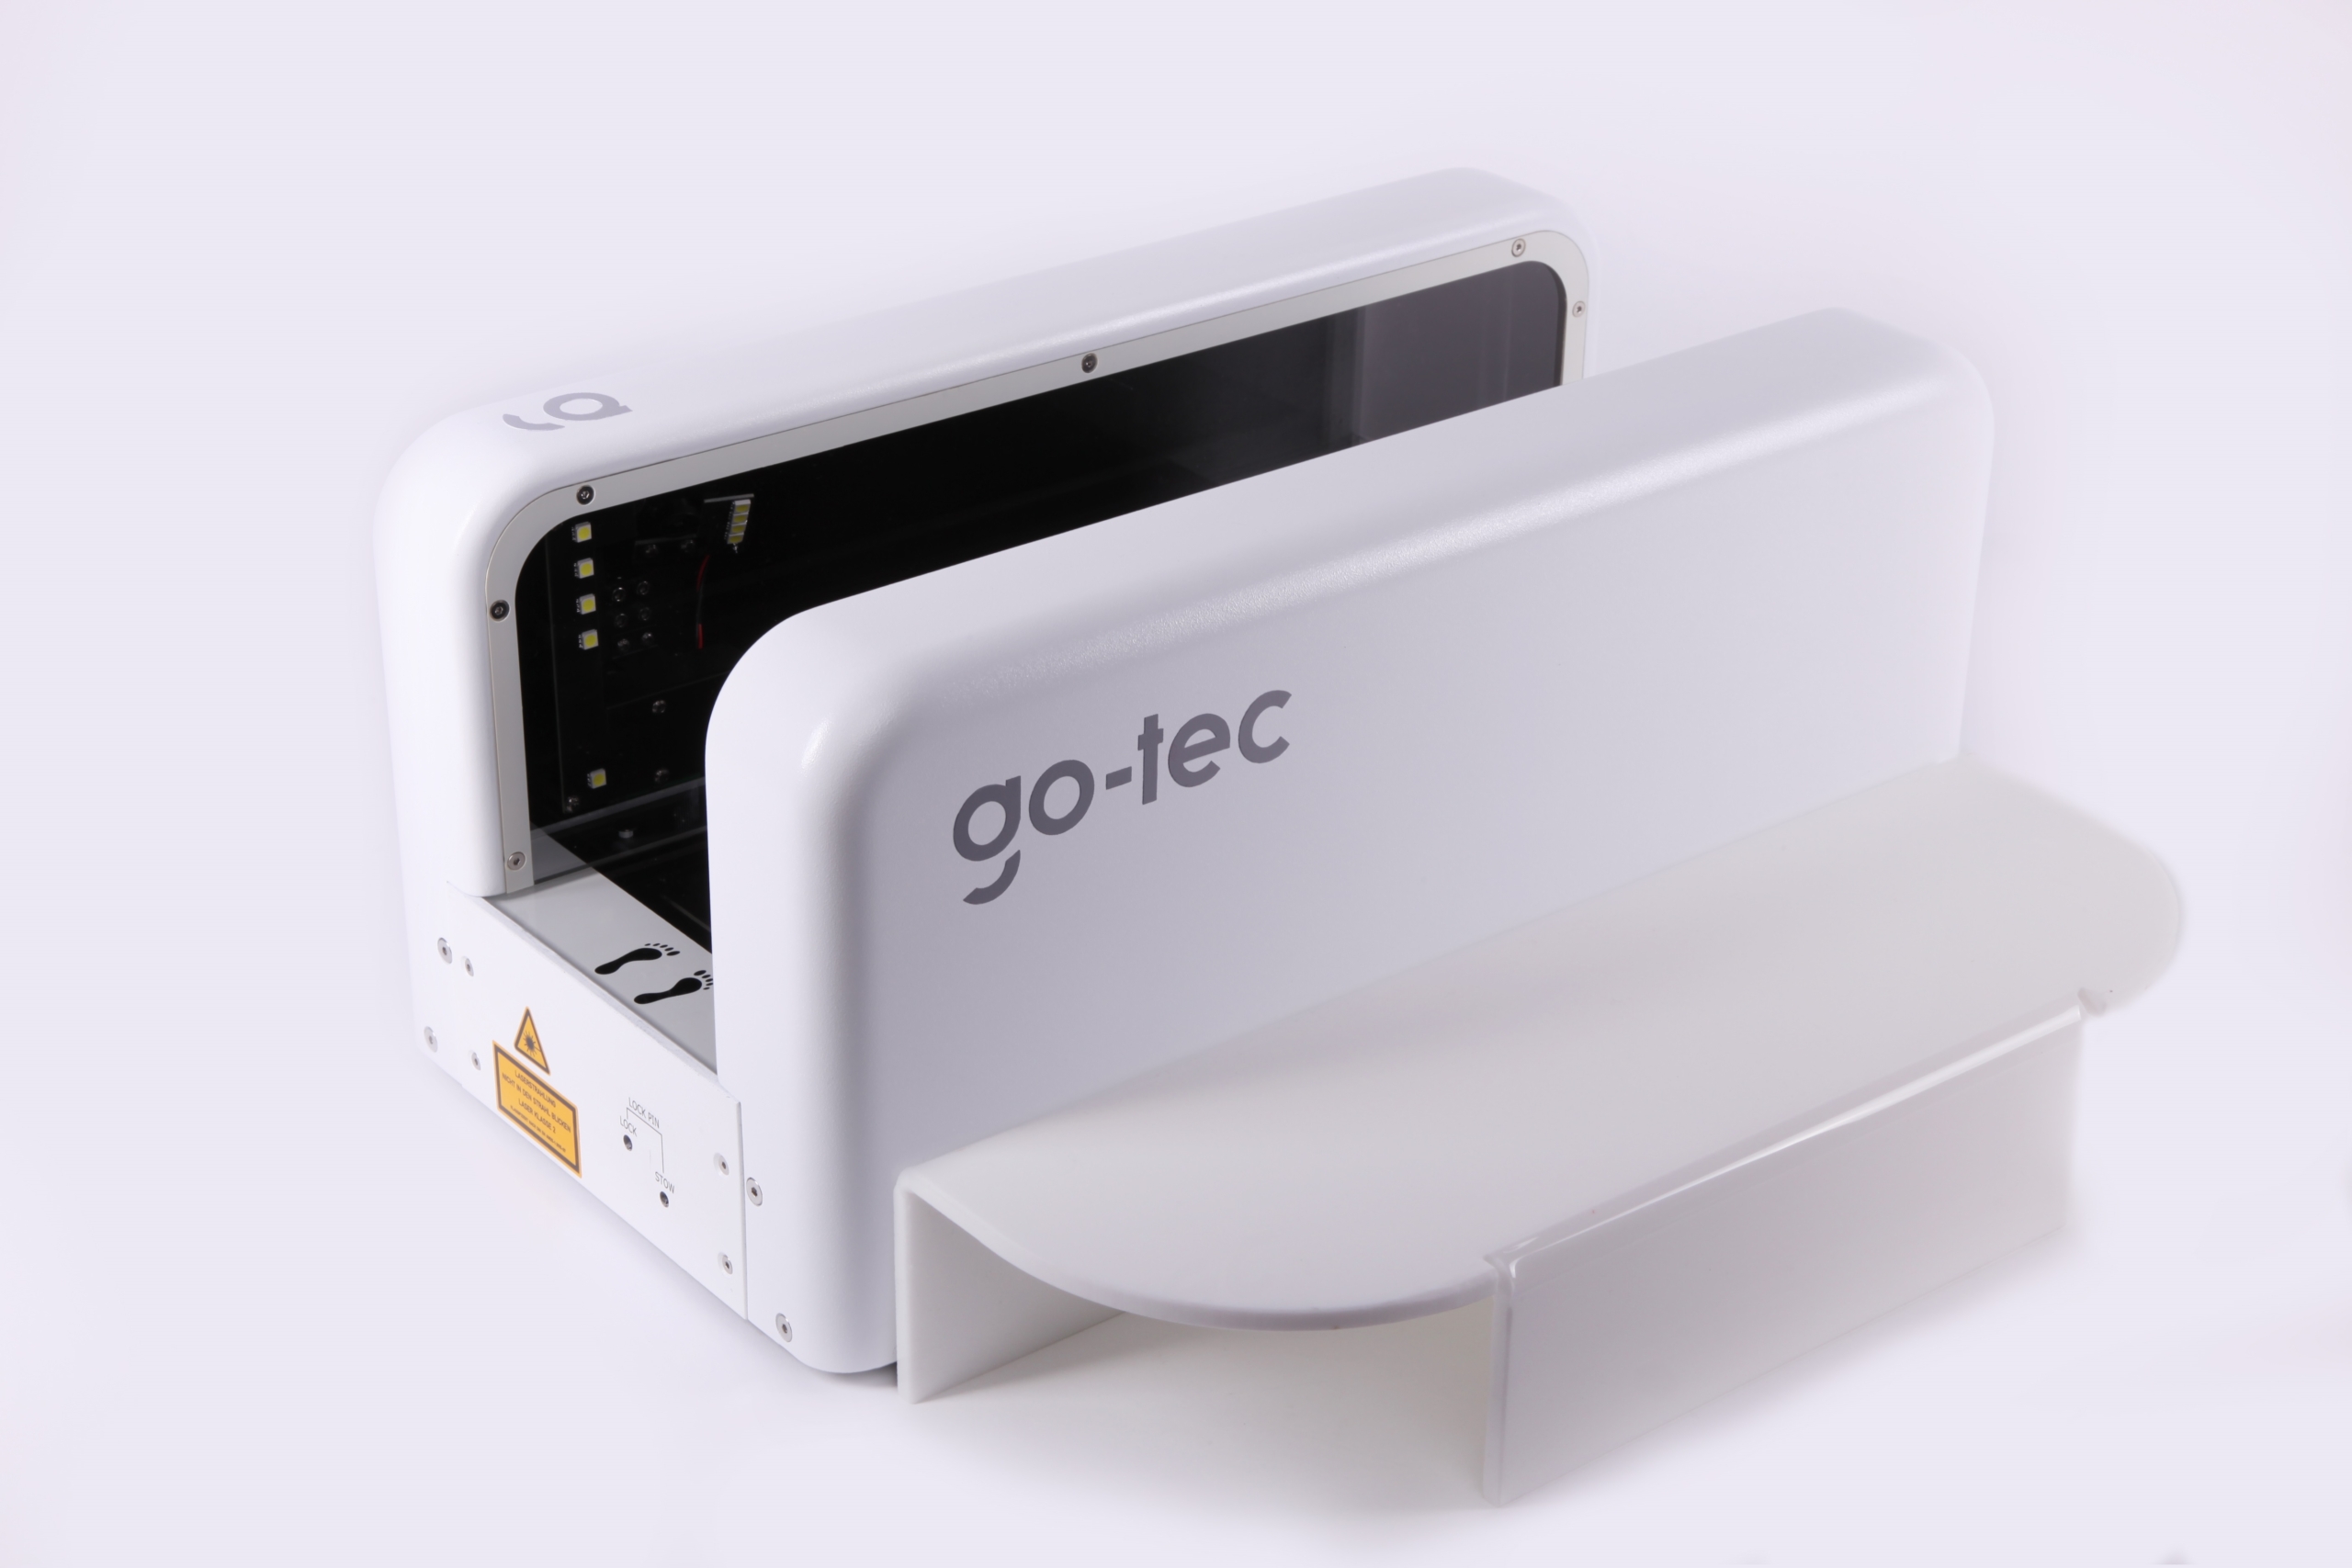
It is characterised by the fact that it only has two lateral camera guides and is open at the top.
The full-foot scanner GT George MAX is the "big brother" of the GT George and differs mainly in its higher scanning height of up to 17 cm.
The full-foot scanner GP LaserScan tf one is the predecessor model.
In addition to the lateral camera guides, the scanner is closed at the top by a cover.
The different models of the plantar 3D scanner you will find here.
GP LaserScan total foot one (3D total foot scanner) cannot be addressed.
Error description:
In the dialogue window, all check marks are green, only "Scan" has a red cross and an error is displayed
Troubleshooting:
To deactivate the power settings for USB ports, use this path:
- Open Windows start menu
- Select settings (cogwheel)
- System
- Mains operation and energy saving
- "Additional energy settings"
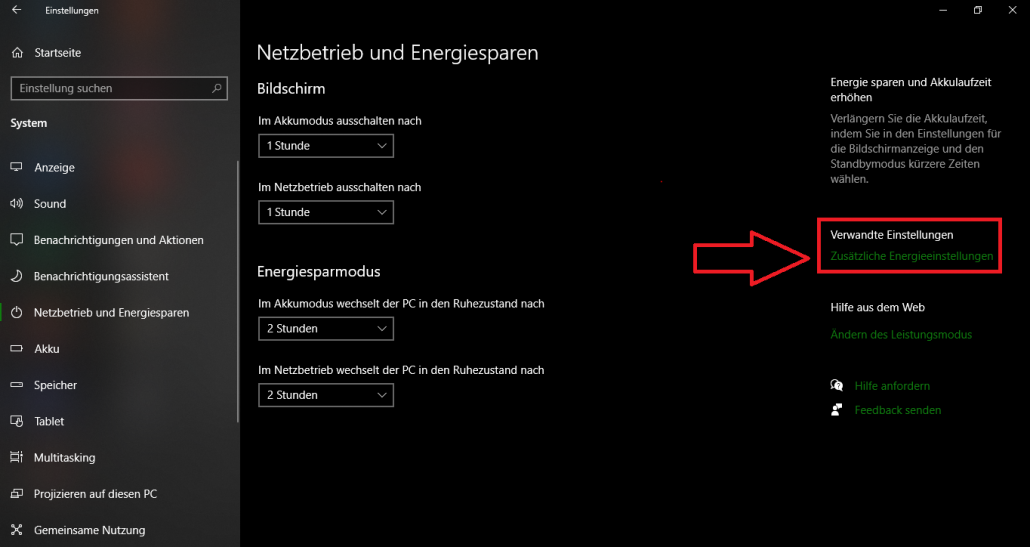
- "Change energy saving plan settings"

- "Change advanced settings"

- Set USB settings and "Enabled" to "Disabled"

Problem description:
If you open the GP FootMess3D module and want to start the measurement process with the full foot scanner, the following message appears:

This means that either the dongle for the scanner is not connected to the PC or it is not recognised.
Solution:
Make sure that this dongle is connected to your PC via a USB port:
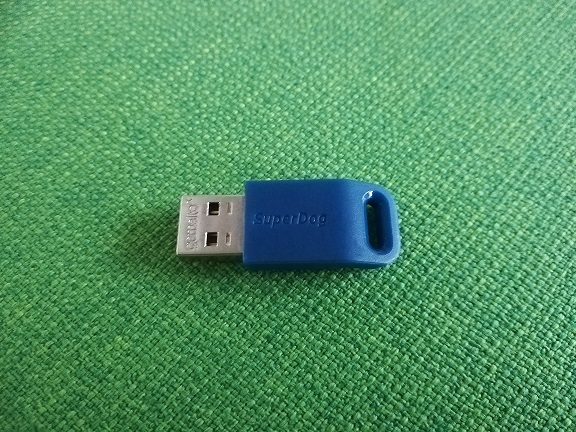
Under Control Panel -> All Control Panel Items -> Devices and Printers, the dongle should appear as "SuperDog".

If the dongle does not appear there, please plug it into another USB port.
Error description:
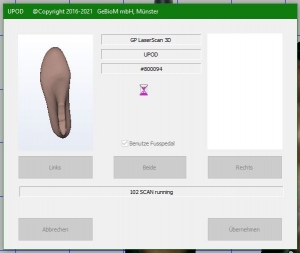
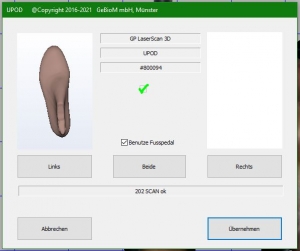
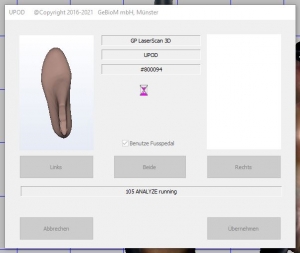
The GP Manager crashes with GP Foot Measurement 3D while processing the measurement.
Cause of error:
The texture is not included in the driver software of the 3D Total foot one.
Troubleshooting:
Please open the programme UPOD_3D_Full_Foot_Scan  a small window will open at the top of the screen. Click on the camera on the far left. Then open it by clicking on the small cogwheel
  the settings and tick the box next to
"Real Colour"  .
.
You can then close the driver software again and the scan in the GP Manager should be possible again.
Problem description:
You have connected 2 scanners (blue F-scanner & white F2 scanner; blue F-scanner & 3D full-foot scanner or white F2 scanner & 3D full-foot scanner) to a PC. Now you want to scan with one scanner, but address the other scanner.
Problem solution:
Do not run 2 scanners on one PC at the same time. Either disconnect the power connection via the power button on the scanner or via the power supply unit in the socket. Or disconnect the USB connection to the PC. A USB hub can help with the latter.
Now please only switch on the scanner that you want to use for scanning.
