7.3 Filament load/change procedure
The filament change procedure always runs in 2 stages – Remove old filament and Install new filament. In case the filament is loaded for the first time (there is no filament to remove), just go through the procedure as if there is already installed filament.
| 1 |
Enter the filament change menu by pressing the filament change button (1)
|
|
2 |
REMOVING THE OLD FILAMENT
Select the melting temperature of the installed filament (2) using the up and down arrows. For the filament Addigy® FPU 79AR8 this temperature is 250-265°C. Press the „next” button (4) to go to the next step.
To abort the procedure, press the cancel button (1). Press the back button (3) to go back to the settings menu.
|
|
3 |
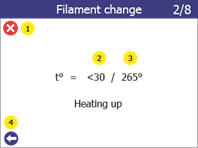
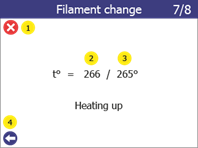
The printer will begin to heat up the printhead to the selected target temperature. The procedure will automatically continue once target temperature have been reached During heat up both the current temperature (2) and the target temperature (3) is shown.
To abort the procedure, press the cancel button (1). Press the back button (4) to go one step back.
|
| 4 | When target temperature is reached, the printer will start to unload the filament.
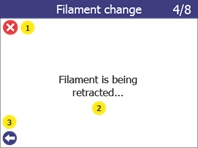
This starts with a small push-out of filament in step 3/8 to ensure that no old filament remains in the nozzle causing any blockage. Once push-out is done it will start to retract the filament in step 4/8 remove it from the nozzle.
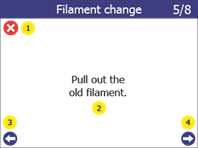
Once the filament has been retracted out of the extruder, it will continue to step 5/8. Pull the filament slowly out of the Teflon tube. It is now ready for removal of the filament spool, either for replacing for a new one, or for filament storage. Press the continue button (4) to go to the next step. During these steps, the current status of the procedure can be seen on the screen (2)
To abort the procedure, press the cancel button (1). Use the back button (3) to go one step back. |
|
5 |
INSTALLING THE NEW FILAMENT
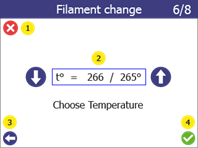
Select the melting temperature of the new filament (2). For the filament Addigy® FPU 79AR8, this temperature is 250-265°C. Press the Confirm button (4) to go to the next step.
To abort the procedure, press the cancel button (1). Use the back button (3) to go one step back. |
|
6 |
The printer will begin to heat up the printhead to the selected target temperature. The procedure will automatically continue once target temperature have been reached. During heat up both the current temperature (2) and the target temperature (3) are shown.
To abort the procedure, press the cancel button (1). Press the back button (4) to go one step back.
|
|
7 |
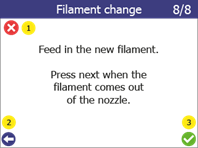
Once the printer has reached target temperature, it will automatically start and attempt to extrude. To abort the procedure, press the cancel button (1). Use the back button (2) to go one step back
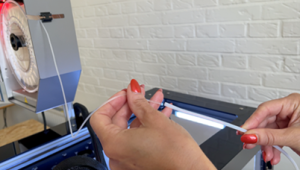
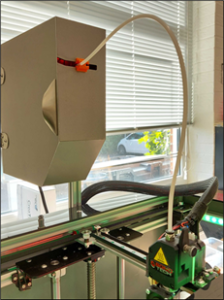
Insert the filament through the filament tube
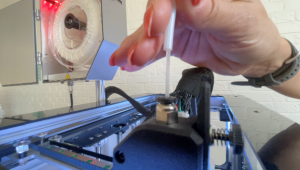
Push filament down until the print head grabs it. Then release the filament and look under the print head.
Once the print head begins to extrude filament with consistent shape and speed, press the Confirm button (3) on the LCD screen.
Fasten the filament tube into the print head and onto the filament chamber.
The filament change procedure is now complete.
|


